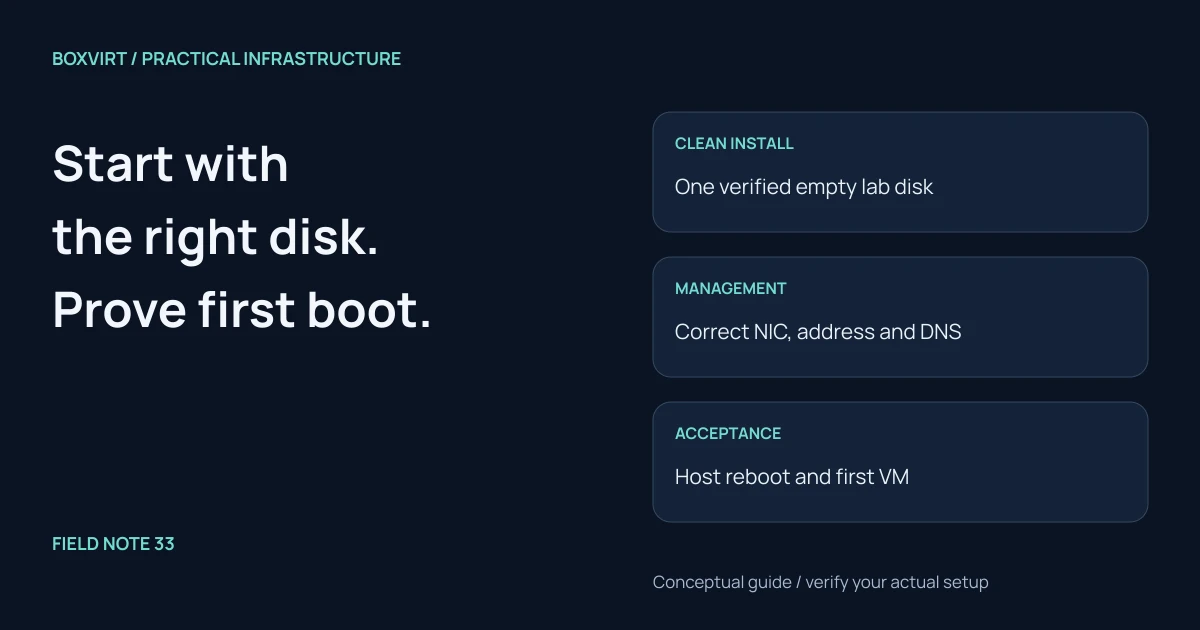
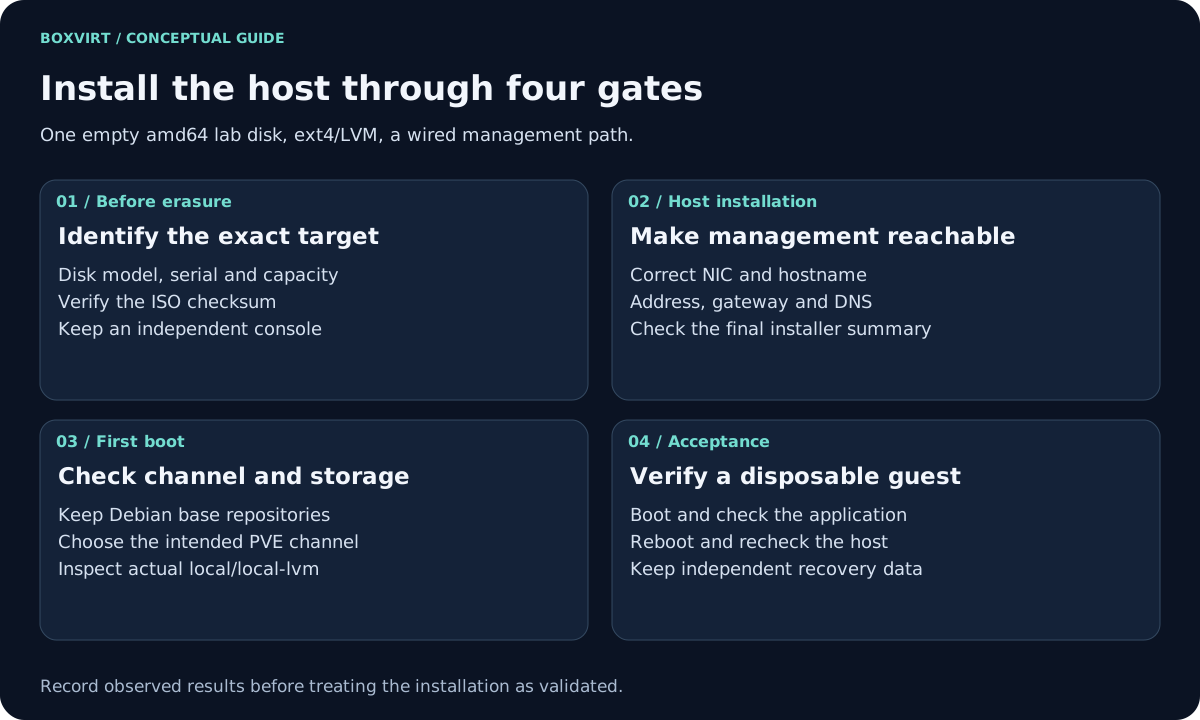
For a clean Proxmox VE 9 installation, verify the installer, identify the exact disk you intend to erase, and prepare a reachable management address before booting the ISO. After installation, check the host, repository channel and storage, then create one disposable VM and prove that it still works after a planned reboot.
This example uses one amd64 lab machine, one empty installation disk, a wired management connection and an ext4/LVM layout. It does not install a cluster, Ceph or a ZFS mirror. An existing VE 8 host needs its own 8 → 9 upgrade route; installing over its disk would erase the old installation.
Validation: documentation reviewed November 10, 2026. The official ISO page listed an amd64 9.2-1 installer; the installation manual identifies as 9.2.13. These are source versions, not a tested build. No installation described here has been performed. Record your actual ISO, package builds and hardware before using this guide as a lab procedure.
Prepare a disk and management record
Fill this in before starting the installer. The names and addresses are examples; none describe an observed Boxvirt server.
| Field | Example or evidence to record |
|---|---|
| Target hardware | amd64 CPU with virtualization enabled; record model and firmware |
| Erase target | One empty disk; record model, serial and capacity |
| Other disks | List disks that must remain untouched; disconnect where practical |
| Installer | Exact ISO filename and published SHA-256 |
| Hostname | pve-lab.example.com, backed by your own DNS record |
| Management | 10.20.10.10/24; address checked for conflicts |
| Gateway / DNS | 10.20.10.1; verify that the intended services exist there |
| Recovery access | Physical or independent remote console; location of independent backups |
Use the system requirements and installation manual to check your actual workload and hardware. Do not treat a minimum memory requirement as a guest-capacity budget. The RAM planning worksheet helps separate host reserve from guest allocations.
Verify the ISO and boot the intended machine
Download the amd64 installer from the official ISO page. Compare the downloaded file’s hash with the published value for that exact file. On the machine holding the illustrative filename:
sha256sum ./proxmox-ve_9.2-1.iso
The filename is an example of the researched release, not a request to download an older image later. Save the filename, expected hash and calculated result. If they disagree, stop and obtain a verified copy.
Use the official installation-media instructions to write the ISO to the chosen USB device. Writing media erases that device. Identify the USB separately from the host’s installation disk; device letters alone are not an identity check.
Boot the intended machine from the media. The graphical and terminal installers offer the normal installation workflow. If the screen or input devices do not work, investigate the documented installer alternatives rather than changing unrelated firmware settings at random.
Select the disk, filesystem and network deliberately
Choose ext4 on the one recorded empty disk for this example. Review disk identity and size before proceeding. This choice gives a simple LVM-based lab layout; choosing ZFS instead changes the storage and recovery design and needs its own disk plan.
Set locale, time zone, administrator credentials and contact address. Then select the physical management NIC using the recorded port/MAC identity. Enter the hostname, address/prefix, gateway and DNS server from the worksheet.
Before confirming installation, compare the complete summary with the record. Every selected drive can lose its existing contents. Back out if another disk, NIC or network appears. Keep the final disk summary in your private lab notes.
After installation, remove the USB and boot from the installed disk. Check the
console’s management address against the intended plan. Open
https://pve-lab.example.com:8006 from the management network. For the initial
self-signed certificate, verify its identity through the trusted console or
another independently authenticated channel before trusting it. Do not disable
TLS checking as a fix for an address or certificate mismatch.
Select repositories and update the new lab host
In the node’s repository view, inspect both the Debian base sources and the
Proxmox channel. The repository manual
documents VE 9’s Debian trixie sources. Keep the base Debian repositories as
well as the chosen Proxmox repository.
Use the enterprise channel with a valid subscription. For this non-production lab without one, disable the inaccessible enterprise entry through the supported repository UI and add the documented no-subscription channel. Do not add the test channel to repair an authorization error. Check any enabled Ceph repository separately; changing one PVE entry does not resolve every repository error.
Refresh package information, resolve signature, suite and authorization errors, and apply the documented host update workflow. Avoid blanket search-and-replace commands across source files. Reboot when the update requires it, using the console if management does not return.
On the new lab PVE host, collect read-only evidence:
pveversion -v
ip -br address
ip route
pvesm status
An initial ext4/LVM installation commonly has local for files and local-lvm
for guest disks. Inspect the actual entries and permitted content rather than
assuming names prove a particular disk layout. See the
storage-type guide.
Prove the first guest and record the result
Follow the Linux VM walkthrough for a disposable guest on the intended bridge and storage. Keep this installation guide focused on host acceptance rather than repeating the whole VM recipe.
| Gate | Evidence to capture | Stop if |
|---|---|---|
| Installed disk | Expected boot device and selected filesystem | Host boots only with installation media present |
| Management | A fresh HTTPS session from another client | Wrong address, duplicate IP or unusable DNS |
| Repositories | Successful refresh on the intended channel | Signature, suite or authorization errors remain |
| Storage | Expected backend, mount and free space | Guest disk would land on unintended storage |
| First VM | Guest boot, gateway/DNS and one known application or file check | A boot screen is the only recorded result |
| Planned reboot | Management, storage and guest rechecked | A missing mount or network dependency appears |
A fresh installation has no automatic rollback to the erased disk’s contents. If it fails, preserve console errors and the installation record; correct the identified cause and reinstall only the intended disk. Recovery of previous workloads depends on independent backups and a tested VM restore procedure.