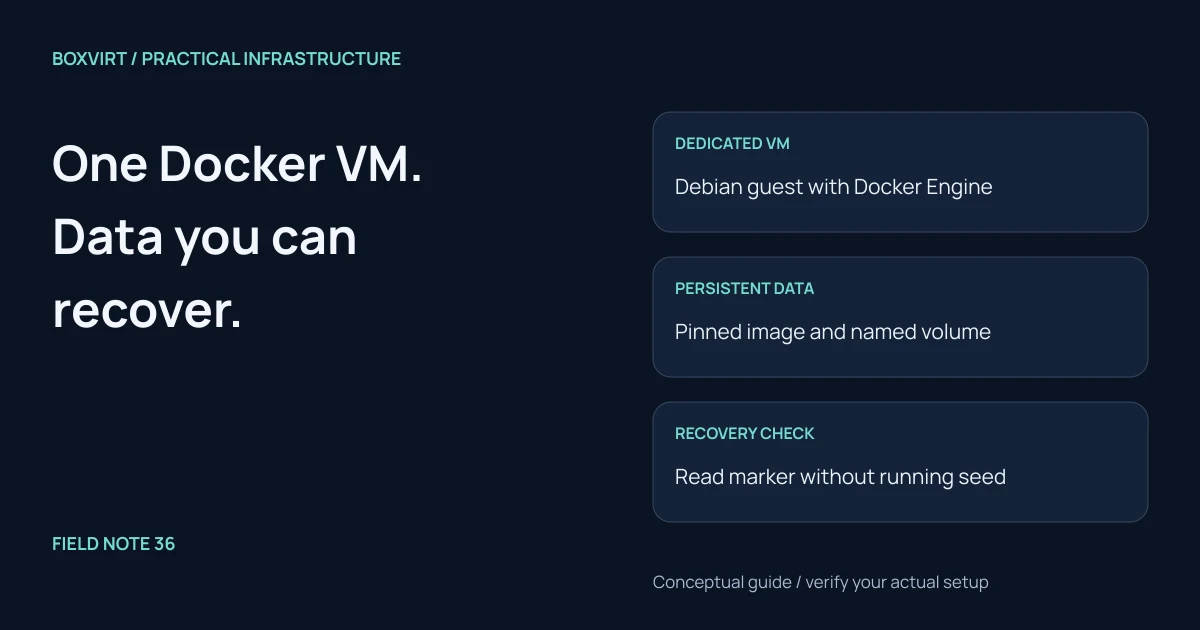
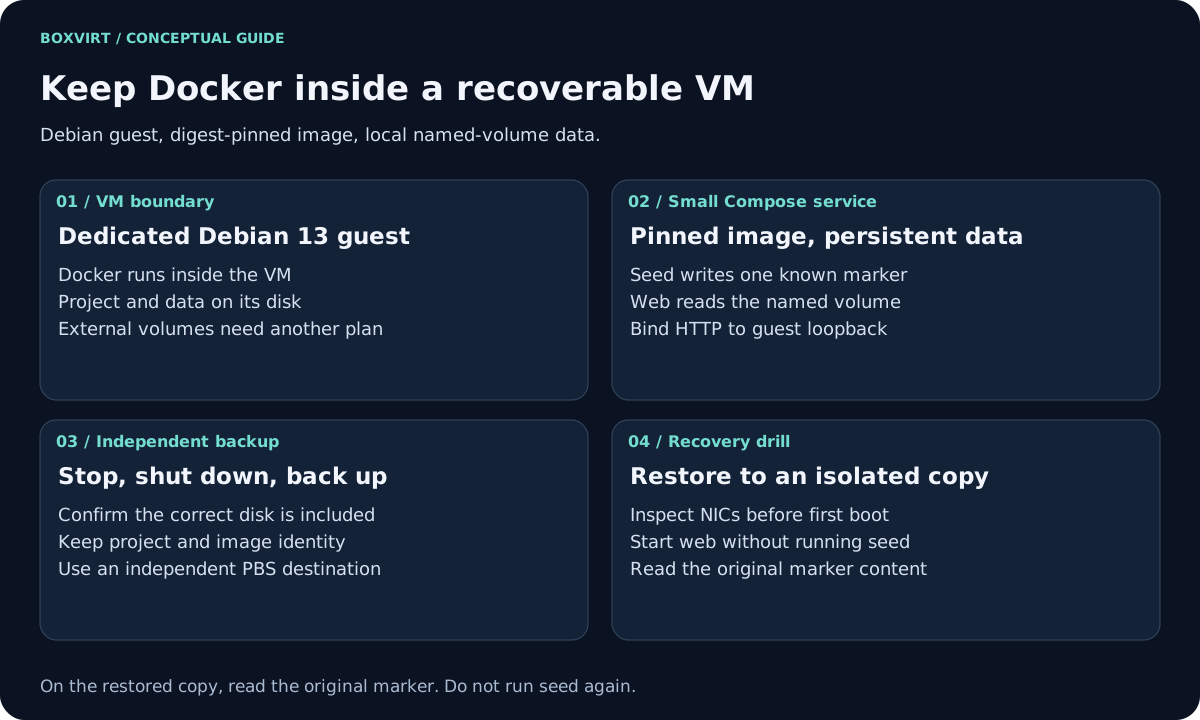
For this Proxmox Docker setup, create a dedicated Debian VM, install Docker Engine inside that guest, and keep the Compose definition and persistent data on its backed-up virtual disk. Run one small service, save a known data marker, and restore the VM into an isolated copy before depending on it.
The example is a static web service with a named volume and no database. Its HTTP port binds only to the Docker VM’s loopback, reached through an SSH tunnel for the lab. A real database service needs its own consistency and credential-recovery procedure.
Validation: primary documentation reviewed November 10, 2026. No Docker daemon, guest installation, container or restore was run during preparation. Debian 13 is the selected guest family; exact PVE, guest and Docker builds remain to be recorded on an authorized lab. Commands below belong to that guest unless a step explicitly says PVE.
Create a VM with a clear backup boundary
Use the Linux VM guide to create a Debian 13 amd64 VM, install its guest agent and verify its network. Record CPU, RAM, guest disk and actual package versions. Size those resources for the intended services; the small example does not provide a universal production budget.
This design keeps Docker’s local data on the VM’s ordinary virtual disk. No passed-through disk, remote volume driver or external database is included. Inspect any such dependency separately before applying the same backup plan. The VM/LXC worksheet explains the guest choice, while the PVE container manual provides the product’s application-container context.
Install Docker from its Debian repository
Start with a fresh VM and review Docker’s Debian prerequisites. If conflicting Docker/container-runtime packages already exist, stop and use the documented migration/removal procedure for that VM. Do not run a blanket package-removal command on a guest with unknown workloads.
In the Debian guest, as an administrator with sudo:
sudo apt update
sudo apt install ca-certificates curl
sudo install -m 0755 -d /etc/apt/keyrings
sudo curl -fsSL https://download.docker.com/linux/debian/gpg -o /etc/apt/keyrings/docker.asc
sudo chmod a+r /etc/apt/keyrings/docker.asc
Create a source entry for the guest’s verified Debian release and architecture:
guest_suite=$(. /etc/os-release && printf '%s' "$VERSION_CODENAME")
guest_arch=$(dpkg --print-architecture)
test "$guest_suite" = trixie && test "$guest_arch" = amd64 || exit 1
sudo tee /etc/apt/sources.list.d/docker.sources >/dev/null <<EOF
Types: deb
URIs: https://download.docker.com/linux/debian
Suites: $guest_suite
Components: stable
Architectures: $guest_arch
Signed-By: /etc/apt/keyrings/docker.asc
EOF
sudo apt update
sudo apt install docker-ce docker-ce-cli containerd.io docker-buildx-plugin docker-compose-plugin
The check deliberately stops this example on a different suite or architecture. Resolve repository/TLS/signature errors before installing. Record the versions actually installed rather than assuming that future repository contents match this research date.
sudo docker version
sudo docker compose version
sudo docker run --rm hello-world
Use sudo for this lab. Adding a user to the Docker group grants powerful daemon access; see the post-installation guide. Keep daemon access restricted and do not expose its socket to the web container.
Record the image digest and Compose definition
Create a directory owned by the guest administrator, for example
/srv/compose/lab-web, and enter it. The path must be new or inspected before
writing files. Pull an official Nginx image and record its resolved digest:
sudo docker pull nginx:stable-alpine
export LAB_WEB_IMAGE="$(sudo docker image inspect nginx:stable-alpine --format '{{index .RepoDigests 0}}')"
printf '%s\n' "$LAB_WEB_IMAGE"
printf 'LAB_WEB_IMAGE=%s\n' "$LAB_WEB_IMAGE" > .env
Review that the value is an nginx@sha256:... digest before continuing. The
.env file here contains only the image reference. It must not become an
unprotected store for future application secrets. A digest records the chosen
image; it does not replace a later vulnerability review and update plan.
Save this as compose.yaml in the same directory:
name: lab-web
services:
  seed:
    image: ${LAB_WEB_IMAGE:?Set the recorded image digest}
    entrypoint: ["/bin/sh", "-c"]
    command: ["printf '%s\\n' 'boxvirt-docker-vm-220' > /data/recovery-marker.txt"]
    volumes:
      - webdata:/data
    restart: "no"
  web:
    image: ${LAB_WEB_IMAGE:?Set the recorded image digest}
    ports:
      - "127.0.0.1:8080:80"
    volumes:
      - webdata:/usr/share/nginx/html:ro
    restart: unless-stopped
volumes:
  webdata:
The seed service initializes one marker in an intentionally empty lab volume;
the web service reads that same volume. Start only the selected services below.
The Compose service reference
defines the image, command, port and mount properties. The
volume guide
explains persistence and why an empty mounted volume and an image’s original
directory contents are different things.
Start the lab and verify the intended access
Inside the guest, from the project directory:
sudo docker compose config --quiet
sudo docker compose run --rm seed
sudo docker compose up -d web
sudo docker compose ps
curl --fail http://127.0.0.1:8080/recovery-marker.txt
Expected marker content is boxvirt-docker-vm-220. This is a chosen acceptance
value, not a reported result. Inspect the service log and actual published
address if it fails. The read-only web mount should not need a privileged
container or host Docker socket.
On your administrator workstation, use an authenticated SSH tunnel to the guest if you want to open the service locally:
ssh -L 8080:127.0.0.1:8080 [email protected]
Then request http://127.0.0.1:8080/recovery-marker.txt on the workstation.
Replace the documentation hostname and use your verified guest SSH identity.
This does not publish the service to the LAN or internet. Docker’s
port-publishing guide
explains why the bind address matters. Plan proxy, TLS and firewall access
separately before introducing an externally reachable application.
Back up and restore the whole example VM
Record the project directory, image digest, named volume, VM disk and known marker outside the protected VM. In the guest, stop the lab service cleanly. For this simple offline rehearsal, shut down the guest after stopping it, then take a stopped VM backup from PVE to the independently available PBS destination described in the PBS setup guide.
Confirm that the virtual disk holding both the project and Docker data is included. The Docker data-layout guide helps inventory any additional mounts introduced later. Do not use volume deletion as part of this backup procedure.
Restore that snapshot to an unused VM ID with startup disabled. Follow the isolated restore runbook: disconnect all NICs before boot, review automatic services, then supply only the intended lab network when needed. The original VM and its restored copy must not compete for the same addresses or application identity.
In the restored guest, enter the saved project directory and check the saved
image reference, service state and volume. Start web if needed and retrieve
the marker again. Do not run seed during the recovery check: recreating
the marker would hide the loss of the original data. Record the snapshot,
included disk, image/volume identity and exact recovered content.
For an unsuccessful rehearsal, keep the source backup intact, shut down the test copy and diagnose the missing disk, volume or project settings. Returning the original VM to service is a separate network and identity decision.