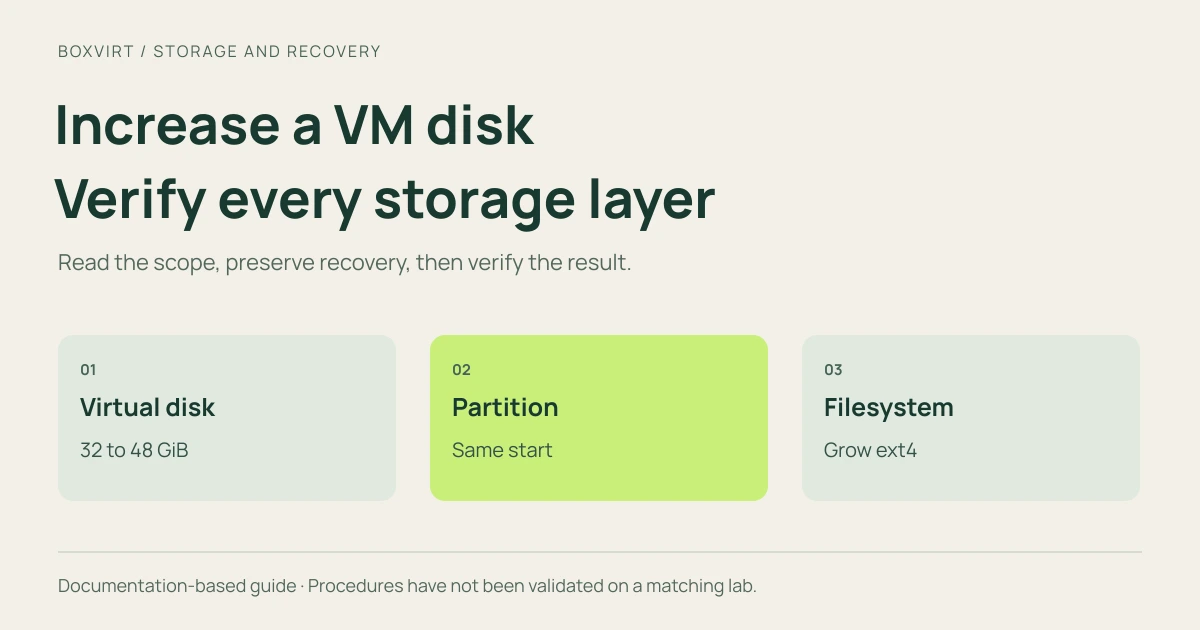
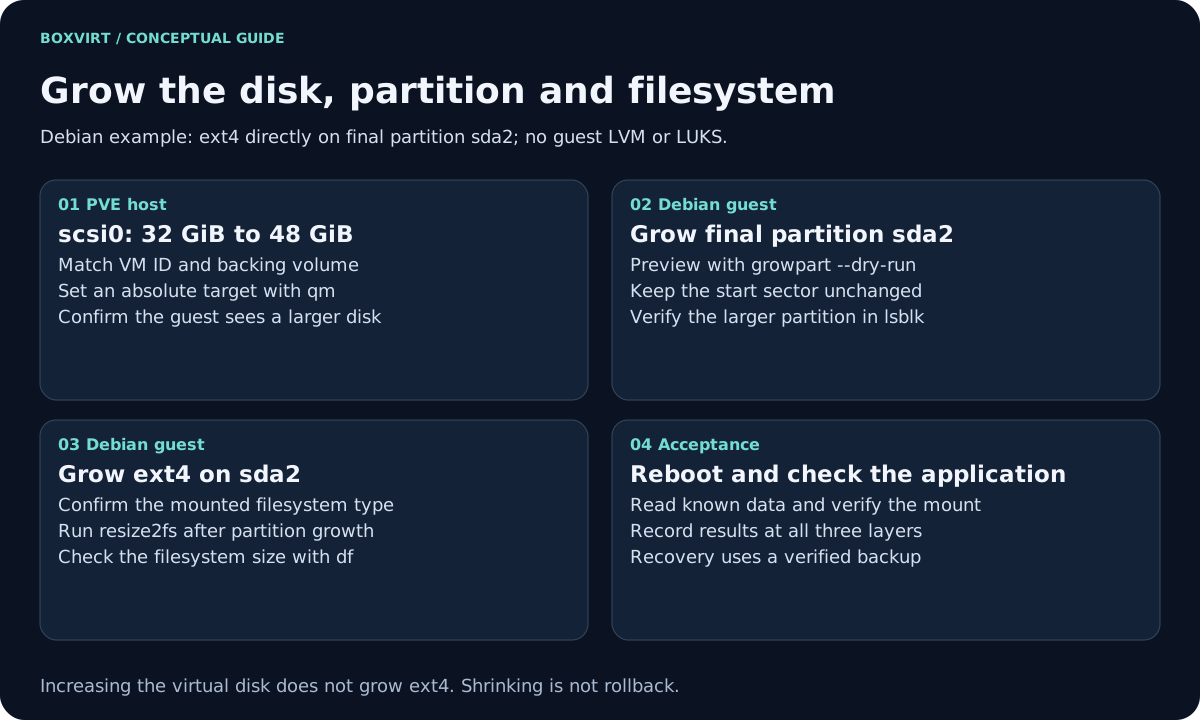
Increasing a VM disk in Proxmox changes the virtual block device. Linux may still have the same partition and filesystem size afterward. For the layout in this guide, complete three changes in order: virtual disk → partition → ext4 filesystem, checking the result at each boundary.
This example grows one Debian VM’s SCSI disk from 32 GiB to 48 GiB. Its
root filesystem is ext4 directly on the final partition, /dev/sda2. A small
EFI System Partition comes before it. There is no guest LVM, LUKS, software
RAID or separate trailing swap partition. These are deliberate prerequisites,
not a claim about every Debian installation or the layout from another guide.
Validation: reviewed against PVE qm documentation 9.2.13 and Debian
trixie manuals on November 9, 2026. No resize, reboot or recovery was executed
for this article. The commands are an untested lab procedure; use a separate
disposable VM and record its exact versions before working with real data.
Confirm that this procedure matches your problem
| Problem | Appropriate operation |
|---|---|
| Guest root filesystem is full, host storage has capacity | Grow the guest disk and the required layers inside it |
| Host thin pool or filesystem is full | Resolve host capacity first; a new LVM-Thin pool is one separate lab procedure |
| Need a new independent guest data disk | Add and configure another disk, rather than extending the existing root disk |
| Need to enlarge a container root volume | Use an LXC-specific procedure; qm manages VMs |
Check host space with the storage planning guide. For LVM-Thin, inspect both data and metadata usage and account for other guests’ writes and snapshots. Thin provisioning does not remove the physical capacity requirement.
1. Match the PVE disk to the guest filesystem
On the PVE host, inspect the target VM’s hardware, disks and configuration.
The example ID 201 is only a label: replace it with the verified test VM ID
throughout. Do not assume a VM with that ID belongs to this exercise.
qm config 201
qm status 201
pvesm status
Identify the scsi0 volume and its storage ID. Verify it is the 32 GiB OS disk,
rather than efidisk0, a cloud-init drive or a separate data disk. Record any
snapshots or storage constraints before scheduling the change. Do not bypass
a VM lock if a backup, snapshot or migration task is active.
Inside the Debian guest, use an account with sudo:
findmnt -no SOURCE,FSTYPE,TARGET /
lsblk -o NAME,PATH,SIZE,TYPE,FSTYPE,MOUNTPOINTS,MODEL,SERIAL
df -hT /
sudo sfdisk --dump /dev/sda
Trace / to its device. For this procedure, it must resolve to ext4 directly
on /dev/sda2, which must be the last partition, with its end free to grow.
Correlate the disk with the PVE hardware record using the device topology,
size and serial where available. Matching capacity alone is insufficient if
several disks have the same size. If the relationship is ambiguous, stop and
resolve it before writing a partition table.
A /dev/mapper/... root, an lvm or crypt layer in lsblk, XFS, a trailing
partition, or a different root disk falls outside this exact recipe. Guest
LVM would require PV and LV growth as additional steps. Do not run pvresize
on the host’s thin pool to solve a guest-root problem.
2. Prepare recovery and save the original boundaries
Before changing the disk, make an application-consistent backup of all required data, including any excluded disks or external dependencies. Prove an isolated restore works and retain any decryption keys independently. Use the Proxmox backup checklist or the PBS setup and first restore as the starting point for that recovery record.
Copy the guest’s partition-table dump to protected storage outside the VM. Record its partition start sectors, UUIDs, filesystem type and the PVE volume reference. A partition-table dump describes boundaries; it does not contain the files needed for recovery.
Install the documented tools inside the guest, before the maintenance window and while enough space is available:
sudo apt update
sudo apt install cloud-guest-utils e2fsprogs fdisk
Arrange PVE console access and a maintenance window. This example uses a clean guest shutdown for the host-side disk change. Gracefully stop the workload, then shut down Linux through its normal mechanism and confirm PVE reports the VM as stopped. Do not force-stop it merely because shutdown takes longer than expected.
3. Enlarge only the virtual disk on the PVE host
Recheck qm config and the stopped state. On the PVE host:
qm disk resize 201 scsi0 48G
qm config 201
The qm manual documents an absolute
size without a plus sign. 48G requests the final 48 GiB size; +16G would
add 16 GiB each time it is run. Use the absolute target in this procedure to
avoid an accidental repeated increment. Disk shrinking is not supported by
this interface.
In the GUI, the corresponding action is the selected disk’s Disk Action → Resize, where the size increment field would be 16 GiB, not 48. Choose one method; do not perform both changes.
If the resize task fails, inspect its output and the actual configuration before retrying. Check backend capacity, the selected volume and conflicting tasks. Do not edit the configuration’s size field by hand as a substitute for resizing the underlying volume.
Start the VM normally. In the guest, inspect again:
lsblk -b -o NAME,SIZE,TYPE,FSTYPE,MOUNTPOINTS
df -hT /
The whole /dev/sda device should now be 51,539,607,552 bytes: 48 × 2³⁰.
The original 32 GiB device was 34,359,738,368 bytes, so the intended difference
is 17,179,869,184 bytes. These are calculated targets, not observed output.
The root filesystem can still report its old size at this stage.
If the whole disk remains at 32 GiB after this stop/start cycle, investigate the VM, volume identity and resize task. Do not edit partitions until Linux sees the intended larger device.
4. Extend the final partition inside the guest
On the Debian guest, preview the change:
sudo growpart --dry-run /dev/sda 2
The growpart manual defines the arguments as a whole disk and a partition number. It grows the partition toward the disk end or the next partition. Inspect the proposed partition table: partition 2’s start must stay unchanged; its end should move into the newly available space. The EFI partition must remain unchanged.
If it reports NOCHANGE, no usable contiguous space, unexpected partitions
or any error, stop and compare the layout with your saved record. A different
layout needs a different procedure. Do not delete and recreate the root
partition to force this example to work.
After the preview matches the intended change:
sudo growpart /dev/sda 2
lsblk -b -o NAME,SIZE,TYPE,FSTYPE,MOUNTPOINTS
sudo sfdisk --dump /dev/sda
Compare start sectors with the saved dump and confirm the kernel now reports
the larger /dev/sda2. If the table was written but the kernel could not
re-read the active partition, stop here, arrange a normal guest reboot and
inspect again. Do not grow the filesystem against an unconfirmed device size.
At this point, the partition should be larger while df can still show the
old filesystem capacity. That is the remaining layer to grow.
5. Grow ext4 and verify the application
Reconfirm the root source and type before the write:
findmnt -no SOURCE,FSTYPE,TARGET /
sudo resize2fs /dev/sda2
df -hT /
lsblk -b -o NAME,SIZE,TYPE,FSTYPE,MOUNTPOINTS
The resize2fs manual supports online ext4 expansion where supported by the kernel and filesystem. With no size argument, it grows to the containing device. It does not enlarge the partition itself, and it is not an XFS tool.
If resizing reports filesystem errors or unsupported online growth, preserve the output and stop. Use a recovery environment and filesystem-specific maintenance plan; do not run a repair-mode filesystem check on the mounted root filesystem.
Complete the following record with actual observations:
| Boundary | Before | Required after |
|---|---|---|
| PVE virtual disk | Verified scsi0, 32 GiB | Same volume, 48 GiB |
| Guest whole disk | /dev/sda, 32 GiB | /dev/sda, 51,539,607,552 bytes |
| Root partition | Original start and end recorded | Same start, larger end; other partitions unchanged |
| Root filesystem | ext4, original capacity recorded | ext4 on the same partition with increased capacity |
| Workload | Service and known-data check recorded | Service works and existing data remains readable |
Do not expect exactly 48 GiB in df: the EFI partition, partition alignment,
filesystem metadata and reserved blocks affect the displayed and available
space. Compare like-for-like filesystem fields rather than treating df
availability as the virtual-disk size.
After checking the application, perform a controlled guest reboot and repeat the mount, capacity and known-data checks. Confirm the backup job still covers the intended disk and plan for its future physical growth.
If something goes wrong, locate the last successful boundary
| Observation | Next investigation |
|---|---|
| PVE shows a larger disk; guest disk is unchanged | Correct VM and volume, completed task and a fresh guest start |
| Whole disk grew; root partition did not | Trailing partition, non-contiguous free space or a failed growpart preview |
Partition grew; df did not | ext4 growth result and the actual mounted root source |
| Command refers to mapper/LVM/XFS | Layout is outside this article; use tools for that actual stack |
| VM fails to boot or data is missing | Preserve the state, use console/recovery media and the verified backup |
Growing a virtual disk is not reversed by shrinking it back to 32 GiB. Shrinking can truncate data and is not a rollback method. If recovery is needed, restore the verified pre-change backup under a new VM ID on an isolated network, check the application, then plan the cutover. Do not overwrite the only remaining guest while trying to recover it.