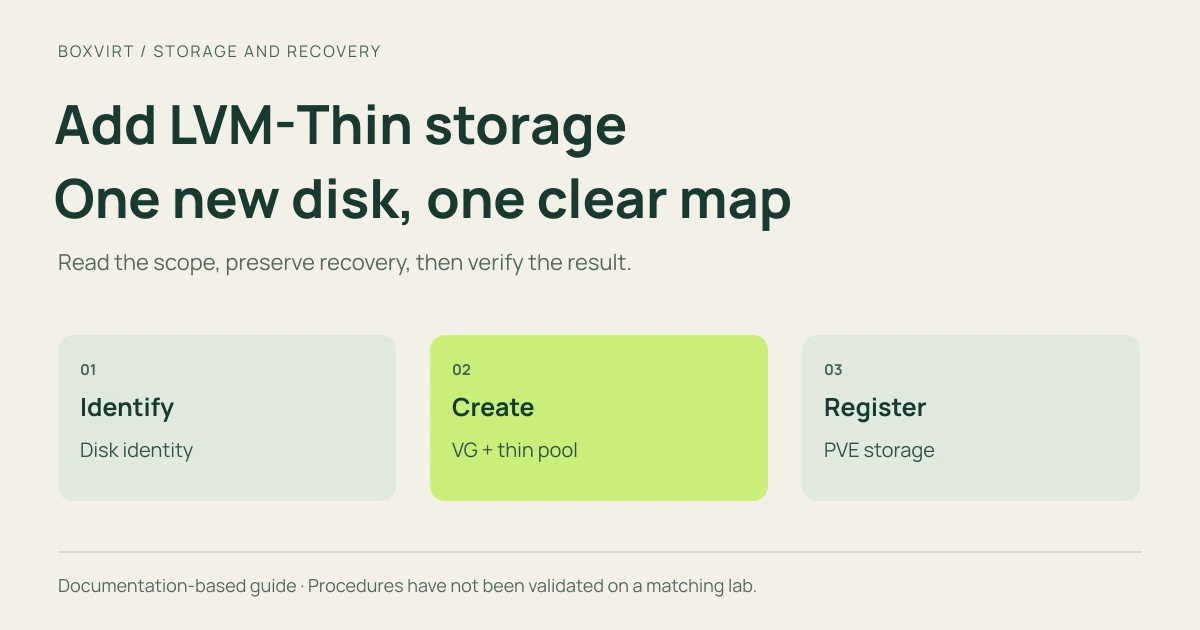
To add LVM-Thin storage to Proxmox, identify an unused physical disk, initialize
it as an LVM physical volume, create a separate volume group and thin pool,
then register that pool as an lvmthin storage entry. Creating the pool and
making it available to Proxmox are separate operations.
This walkthrough uses one new, disposable disk on a standalone lab host.
It does not extend local-lvm, repartition the boot disk, migrate existing
guests or add disk redundancy. If the disk contains anything you need, stop
before initialization.
Validation: commands were checked against the PVE storage manual 9.2.13 and Debian trixie LVM documentation on November 9, 2026. They have not been executed for this article. Record the installed PVE and LVM versions and test the procedure on an authorized lab before using important data.
Plan four names and a physical capacity limit
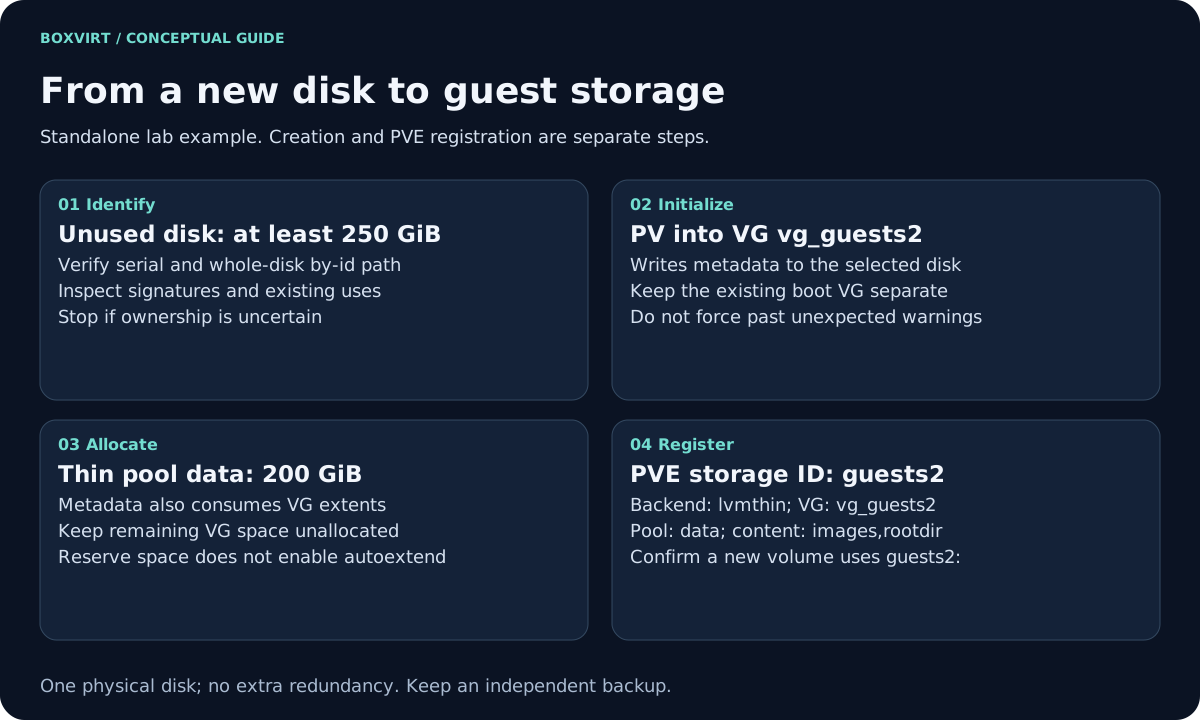
An LVM physical volume (PV) contributes storage to a volume group (VG). The VG contains a thin pool; Proxmox allocates guest volumes from that pool. The Proxmox storage ID is another name pointing to the VG and pool.
| Layer | Illustrative value | What to verify |
|---|---|---|
| Disk | A new disk with at least 250 GiB usable capacity | Physical serial, by-id path and absence of existing uses |
| VG | vg_guests2 | Name is not already in use |
| Thin pool | data in vg_guests2 | 200 GiB data area; room also needed for metadata and LVM overhead |
| Proxmox storage ID | guests2 | Unique entry with content images,rootdir |
| Placement test | One new 8 GiB disk on a disposable VM | New volume ID must begin with guests2: |
These capacities are chosen examples. LVM’s 200G size here means 200 GiB;
a disk advertised as 250 GB is smaller than 250 GiB. Read the actual capacity
instead of copying the marketing label. Leaving VG space unallocated gives
you options for planned pool or metadata growth. It does not configure
automatic extension.
If you need an ISO library or backup archive destination, choose a suitable file-storage backend instead. The storage comparison explains why an LVM-Thin pool is for guest images and container data.
1. Identify the disk before writing anything
Use the PVE host shell as an administrator for the host commands below. First inspect the current device and storage inventory:
lsblk -e 7 -o NAME,PATH,SIZE,TYPE,FSTYPE,MOUNTPOINTS,MODEL,SERIAL
pvs -o pv_name,vg_name,pv_size,pv_free
vgs -o vg_name,vg_size,vg_free
lvs -a -o vg_name,lv_name,lv_size,segtype
pvesm status
Trace the disk supplying /, the existing VGs and pools, and any device
already assigned to a guest. A disk without a mounted filesystem can still
hold VM data, an inactive pool or a passthrough device. Compare the physical
label and installation inventory with the reported model, capacity and serial.
If that relationship is unclear, stop.
Set the following variable to the verified whole-disk by-id path, not a
-part1 partition. The placeholder intentionally names no real disk:
new_disk=/dev/disk/by-id/REPLACE_WITH_VERIFIED_NEW_DISK_ID
readlink -f "$new_disk"
lsblk -o NAME,PATH,SIZE,TYPE,FSTYPE,MOUNTPOINTS,MODEL,SERIAL "$new_disk"
wipefs --no-act "$new_disk"
The wipefs manual
defines --no-act as a read-only inspection. No detected signature is not
proof that a disk has no useful data. Check for child partitions and existing
uses as well. An unexpected signature, PV, partition or ownership record is a
reason to investigate, rather than to add a force flag.
Keep independent backups of existing guests, a record of current storage configuration, and host console access before storage maintenance. A backup stored only on the disk being changed will not help if that disk is overwritten.
2. Create a new VG and a thin pool
The following commands initialize the selected disk and write LVM metadata.
Proceed only after identifying it as a disposable, unused lab disk. Recheck
the variable in the same shell; do not substitute /dev/sdb from an example.
pvcreate "$new_disk"
vgcreate vg_guests2 "$new_disk"
vgs vg_guests2 -o vg_name,vg_size,vg_free
Run each command separately and inspect its result before continuing. An existing-signature warning, unexpected VG name or insufficient capacity is a stop condition. Do not suppress confirmations or use force options to make the example fit a different disk.
Now create the 200 GiB pool:
lvcreate --type thin-pool --name data --size 200G vg_guests2
lvs -a vg_guests2 -o lv_name,lv_size,segtype,data_percent,metadata_percent
vgs vg_guests2 -o vg_name,vg_size,vg_free
The upstream LVM thin-pool manual documents this creation form and automatic metadata sizing. The data LV and metadata need physical extents; the VG’s remaining free space will therefore be less than the disk capacity minus exactly 200 GiB. Do not promise an exact remainder before inspecting the result.
Confirm data has the thin-pool segment type, and that both data and
metadata usage are reported for the active pool. Do not format the pool with
mkfs or mount it as a normal directory. Proxmox will allocate thin volumes
inside it.
3. Register the existing pool in Proxmox
The PVE storage manager
documents pvesm add and the backend-specific options. On the standalone
host in this example:
pvesm add lvmthin guests2 --vgname vg_guests2 --thinpool data --content images,rootdir
pvesm status
pvesm scan lvmthin vg_guests2
Check that guests2 appears as active lvmthin storage and that the pool scan
identifies data. In the GUI, the equivalent registration is Datacenter →
Storage → Add → LVM-Thin, selecting the existing VG and thin pool. Use one
registration method. Adding two IDs for the same pool does not create two
independent stores and can alias the same volumes.
The content values mean VM disk images (images) and container volumes
(rootdir). They do not enable ISO uploads or backup archives. If a file
upload dialog does not offer guests2, that is expected.
The LVM-Thin backend documentation describes the pool as local storage. This article’s standalone configuration must not be copied unchanged to a cluster: restrict an entry to the node owning the disk and review placement and migration dependencies. Marking a local pool “shared” does not make it accessible on other nodes.
4. Prove that a guest volume lands on this pool
Use a disposable VM whose ID you have verified. Record its current disks,
then add a new 8 GiB disk through VM → Hardware → Add → Hard Disk,
selecting guests2. Do not replace its boot disk or reuse an occupied disk slot.
Inspect the VM configuration in the GUI or with qm config followed by your
actual test VM ID. The new disk’s volume reference should start with
guests2:. Inspect the pool’s content view and run:
pvesm list guests2
lvs -a vg_guests2 -o lv_name,lv_size,segtype,pool_lv,data_percent,metadata_percent
The corresponding thin LV should belong to the data pool. Together, the
VM configuration, Proxmox volume list and LVM relationship establish placement.
A successful “add storage” task alone does not establish that relationship.
Guest-side formatting and application recovery are separate checks; follow
the Linux VM setup for a complete new guest.
The 8 GiB virtual size is a promise to the guest, not an immediate 8 GiB
physical write. Small initial Data% usage is consistent with thin provisioning.
It is not a reason to allocate unlimited guest disks.
5. Monitor two pool limits and the growth reserve
Record Data%, Meta% and VG free extents before useful data arrives. The
LVM manual treats data and metadata exhaustion as different failure paths;
both require monitoring and a response before writes can exhaust the pool.
Three separate quantities matter:
| Quantity | Question it answers |
|---|---|
| Sum of guest virtual sizes | How much capacity have you promised? |
| Pool data and metadata usage | How much of each physical pool resource is used now? |
| Unallocated VG extents | What room is available for a planned extension? |
Set alerts using your observed growth rate and maintenance response time. There is no measured universal safe percentage in this example. Free VG extents alone do not prove autoextension is enabled: LVM requires suitable threshold settings and pool monitoring. That configuration is outside this new-pool procedure.
Snapshots keep referenced blocks alive. Discard requires cooperation from the guest, virtual disk and storage stack; deleting a guest file alone does not prove pool space was returned. Keep a backup outside this disk and test recovery before treating it as a production destination.
Troubleshoot the layer that failed
| Symptom | Inspect before changing anything |
|---|---|
| VG exists but no pool is listed | lvs segment type and the exact VG/pool names |
| Pool exists but PVE has no storage entry | Whether registration succeeded; avoid creating another pool |
| Storage entry is inactive | VG activation, actual node ownership and configured names |
| ISO uploads are unavailable | Expected backend content restriction; use file storage |
| Guest disk went to another store | VM configuration and selected target; adding a pool does not move existing disks |
| Usage keeps rising after snapshots or file deletion | Remaining references, discard path and actual Data%/Meta% |
If creation stops midway, preserve the command output and inspect the state before repeating steps. Re-running initialization is not a repair strategy. Before any guest uses the pool, a mistaken registration can be disabled while you investigate. Once volumes exist, leave the underlying PV/VG/pool intact until every guest reference is accounted for and its data is independently backed up or moved and verified. There is no generic safe deletion sequence for a partially understood storage layout.
Finish the lab by checking a guest reboot and an isolated restore from an independent backup. Record the exact software versions, disk identity, volume IDs and pool usage. Those observations are still pending for this draft.
Sources
- PVE storage manager and LVM-Thin backend.
- LVM thin provisioning, pvcreate, vgcreate and lvcreate.
- lsblk and wipefs.
If an existing guest needs more room on its current disk, use the VM disk and ext4 growth procedure instead of assuming that this new pool enlarges that guest.