A manual Nextcloud installation in Proxmox LXC needs a supported PHP/database combination, persistent user data, trusted HTTPS routing, scheduled background jobs, and a coordinated backup. Use an unprivileged container and decide how attached storage will be restored before uploading real files.
This guide covers the deployment decisions and concrete post-installation configuration for a conventional Linux web stack. It does not present an untested package list as a universal installer. Select a specific supported Nextcloud release and follow its matching installation manual for package installation.
Choose compatible versions before creating the container
Record the guest OS, Nextcloud release, PHP runtime, database, web server, and optional caching services. Check Nextcloud’s requirements with the documentation version selector: a /latest/ URL can lead to a development manual rather than the release you intend to install.
Use a maintained unprivileged guest template. LXC shares the host kernel; a VM offers a different boundary if your application or operational policy needs one. Installing a manual web stack does not itself require Docker nesting or a privileged container.
Keep administration on your trusted network during installation. Prepare a real HTTPS hostname and decide whether TLS terminates in the guest or at a separate Traefik file-provider proxy.
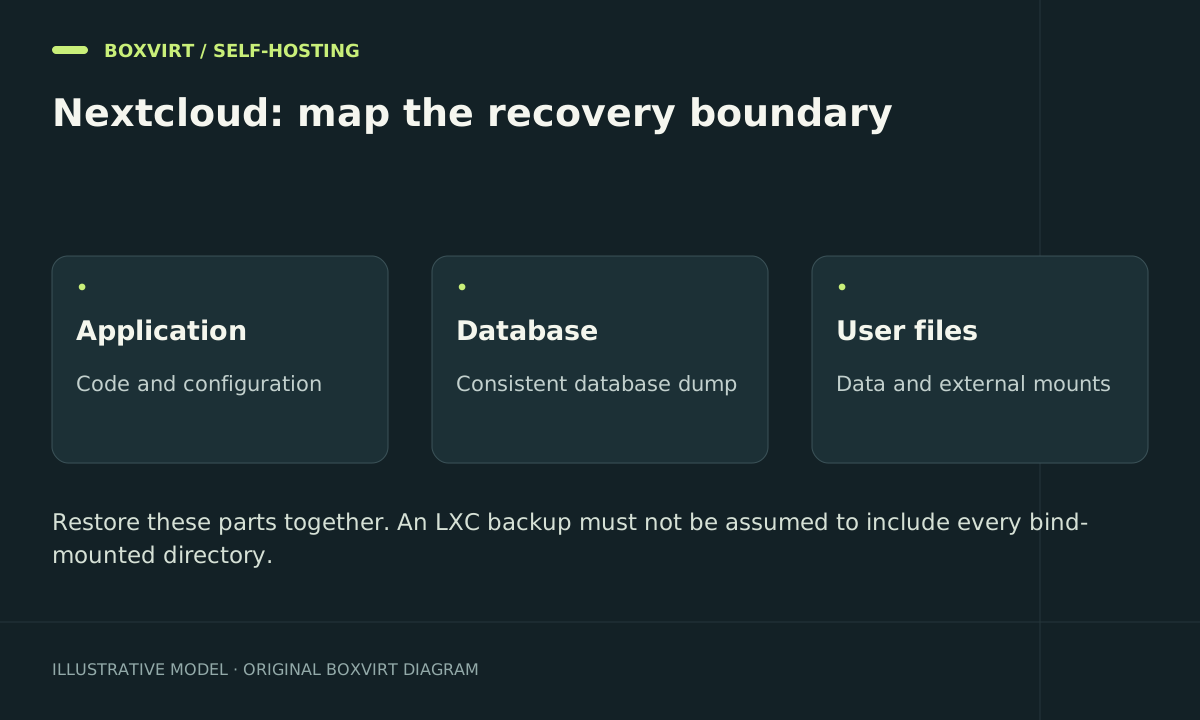
Give every persistent component a recovery owner
| Component | Example guest location | What must survive |
|---|---|---|
| Application code | /var/www/nextcloud | Exact release and installed app set |
| Configuration | /var/www/nextcloud/config | Instance identity, storage and authentication settings |
| User data | /srv/nextcloud-data | Files and application data |
| Database | Database-specific storage | Consistent records matching the files |
These are example paths, not existing directories on your host. Provision the data path before completing the installer and keep it outside the web document root.
Check the Proxmox container mount documentation when using bind mounts. Host bind-mounted content is not included as ordinary container backup content; storage-backed mount points have their own backup settings. Verify the actual coverage. With an unprivileged container, guest and host ownership IDs can differ; inspect the mapping before changing ownership recursively.
Install a version-matched web stack
Follow Nextcloud’s manual installation for your chosen release and distribution. Create a dedicated database and account, use a privately generated password, and keep database access on the guest or intended internal network.
Download the exact selected archive and verify its published integrity information. Configure the web server and data directory, then complete the installer through the protected access path. Do not combine an old distribution package recipe with an unpinned application archive.
On a Debian/Ubuntu-style installation using /var/www/nextcloud and www-data, inspect the result inside the guest:
sudo -u www-data php /var/www/nextcloud/occ status
The PHP binary must match the runtime used by the web server. The occ manual explains service-user execution and CLI caching issues; do not fix those by running maintenance commands as root.
Configure the reverse proxy precisely
Suppose the public hostname is cloud.example.com and the dedicated proxy’s actual backend-facing address is 192.168.50.10. Merge the following relevant entries into config/config.php, preserving the rest of the installation settings:
'trusted_domains' => [
    'cloud.example.com',
],
'trusted_proxies' => [
    '192.168.50.10',
],
'overwriteprotocol' => 'https',
'overwrite.cli.url' => 'https://cloud.example.com',
This example assumes all user access passes through that HTTPS proxy. Allow backend traffic only from the intended proxy and management path. Use the source address Nextcloud really sees; trusting an entire client network to make the warning disappear gives those clients authority over forwarded headers.
Check Nextcloud’s proxy reference for topology-specific overwrite settings and CalDAV/CardDAV discovery. Test generated share URLs and client login through the final hostname.
Schedule background jobs and prove recovery
For a conventional installation, select Cron in Nextcloud’s administration settings. In the www-data user’s crontab, the documented five-minute pattern is:
*/5 * * * * php -f /var/www/nextcloud/cron.php
Use the correct PHP executable and path for the guest. This is a user crontab entry; a system crontab requires its user field. Confirm the job runs and that the administration page shows a recent execution. See the background-job documentation.
Upload, download, rename, and share a disposable file with a normal user. Then follow Nextcloud’s backup procedure: coordinate the database, configuration, custom applications/themes where relevant, and data. Account for scheduled writers and external storage. Restore into an isolated environment and confirm login and file contents. The Proxmox backup guide complements this application-level recovery.
Frequently asked questions
Is a Proxmox snapshot enough to protect Nextcloud files?
No. It remains dependent on its storage and may omit external mount content. You also need a consistent database/file recovery point and an independent backup you have restored.
Why does Nextcloud generate HTTP links behind HTTPS?
Inspect proxy trust and protocol detection. Set overwrite values only for the topology that needs them and confirm that backend access cannot bypass the intended proxy policy.
Why can Nextcloud not write to a host bind mount?
Check the guest service user, unprivileged UID/GID mapping, mount mode, and directory permissions. Broadly granting world-write permission hides the cause and weakens data protection.
Can I downgrade the application to undo an update?
Do not assume the old code can use an upgraded database. Retain the supported pre-upgrade backup and release information, and follow the project’s upgrade/recovery guidance.