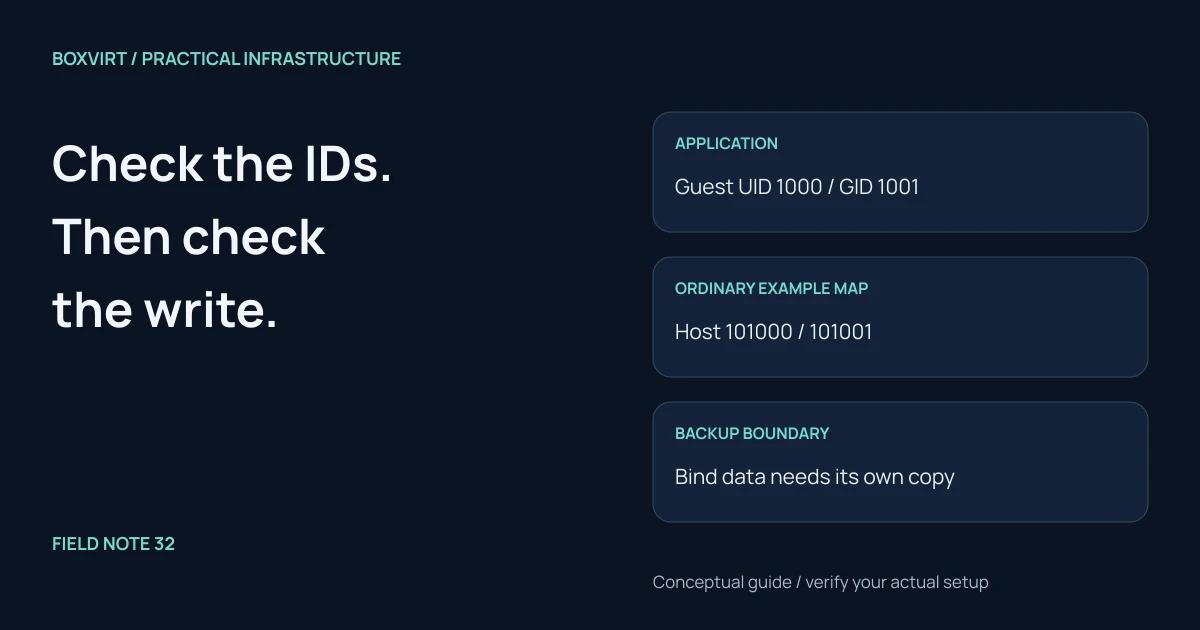
An unwritable LXC bind mount often means that the application’s numeric UID
or GID does not match the host-side access permissions. Check the application
identity, container mapping, mount options and directory permissions before
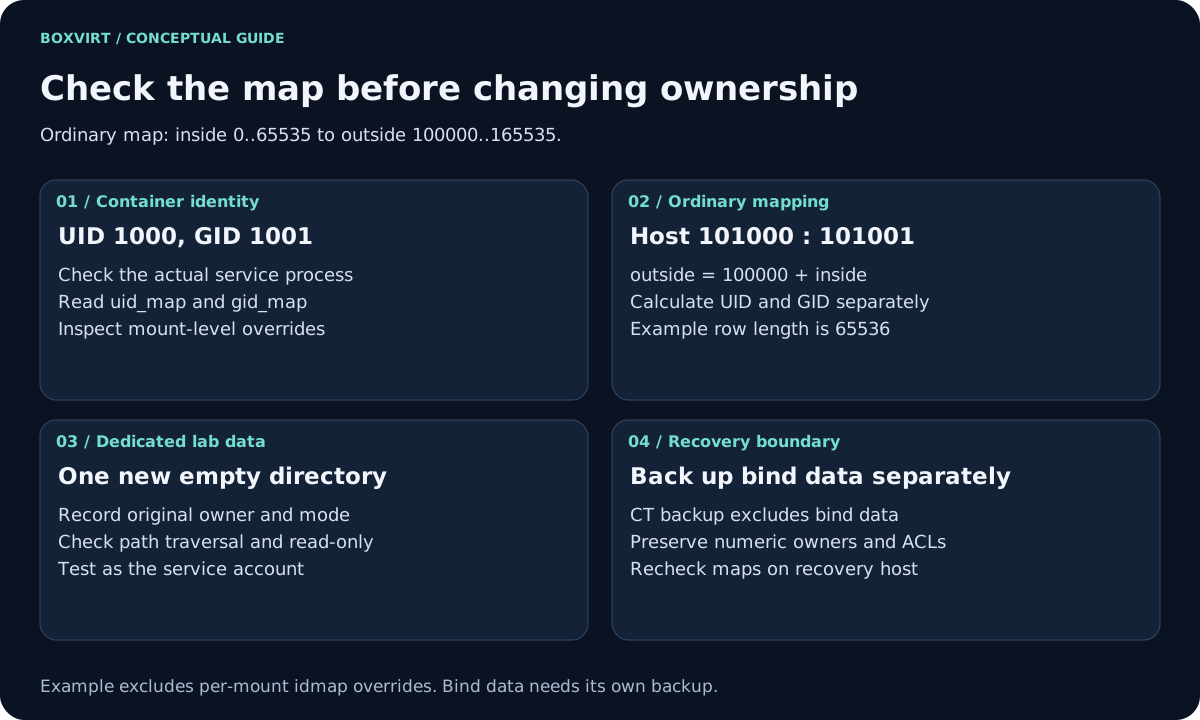
changing ownership. For the ordinary map 0 → 100000 with length 65536,
guest UID 1000 corresponds to host UID 101000; this is an example, not a
constant to apply to every container.
This guide covers one unprivileged system container and a dedicated local host directory. Network filesystems, nested containers and shared application data need additional ownership and access decisions. Start with the LXC setup guide if the container does not exist yet.
Validation: sources checked November 10, 2026. The mapping examples have been calculated; no actual container write, mapping change or data recovery has been tested. Use a disposable lab container and new empty directory for the example below.
Collect the identity and path evidence
On the lab PVE host, inspect the intended container and host directory.
CT 203 and /mnt/bindmounts/lab203 are examples:
pct config 203
stat -c '%u:%g %a %n' /mnt/bindmounts/lab203
namei -l /mnt/bindmounts/lab203
Confirm unprivileged: 1, the intended mpN source/destination, any ro
setting and any custom lxc.idmap. Do not overwrite an occupied mount slot.
Verify that the directory is on the intended mounted filesystem; an empty
directory left behind after a missing disk mount is a different problem.
Inside the running lab container, inspect the application account and mapping from that container’s namespace:
id appuser
cat /proc/self/uid_map
cat /proc/self/gid_map
stat -c '%u:%g %a %n' /srv/appdata
namei -l /srv/appdata
Replace appuser with the actual service account. Confirm the running process
uses that identity; a successful root-shell test does not establish application
access. Group memberships and process credentials may differ after a service
changes user or drops groups.
Calculate UID and GID separately
A mapping row gives the first inside ID, first outside ID, and range length. For an inside ID in that interval:
outside = outside_start + (inside - inside_start)
valid when inside_start <= inside < inside_start + length
For the example row 0 100000 65536, the application has guest UID 1000 and
guest GID 1001:
| Identity | Inside ID | Outside ID |
|---|---|---|
| Container root UID | 0 | 100000 |
| Application UID | 1000 | 101000 |
| Application primary GID | 1001 | 101001 |
| Last ID in this row | 65535 | 165535 |
Both UID and GID maps must support the calculation. Read multi-row maps row
by row; do not extend a range past its length. A displayed overflow identity
such as nobody can indicate that an owner is unmapped, rather than a request
to create an account named nobody.
Check for a per-mount mapping before changing ownership
The retrieved PVE container manual
also documents an idmap property on mount points. Such an override can change
the container-to-disk mapping for that mount. In that case, the container’s
user-namespace map alone is insufficient to infer on-disk ownership.
Check the installed build’s supported options and the complete mount configuration. This article’s arithmetic and ownership example apply only when that override is absent. Do not copy a newer option into an older build without checking support. The older unprivileged-container wiki contains useful mapping examples but also historical installation advice; it is not a current-build compatibility statement.
Give a dedicated empty lab directory the intended owner
For the calculated ordinary-map example only, and after confirming the path is a new empty directory dedicated to this one service, these host-side changes illustrate the intended ownership:
chown 101000:101001 /mnt/bindmounts/lab203
chmod 0750 /mnt/bindmounts/lab203
These commands change the named directory, without recursively relabeling existing files. Save its original numeric owner, group and mode before changing it. Parent directories still need traversal permission; ACLs and filesystem restrictions may also affect access. For established shared data, design a suitable group or ACL policy rather than transferring ownership to one service blindly.
If the bind mount is not configured yet, stop the disposable container and
save its configuration before adding it through the supported pct workflow.
Use an unused mount slot and paths without symlinks. Do not replace a working
mount or change a container’s privilege model as a permission workaround.
Test as the service account, then test recovery
Inside the lab container, where runuser is available and appuser is the
verified application account, create a fresh temporary file:
runuser -u appuser -- sh -c 'umask 077; mktemp /srv/appdata/permission-check.XXXXXX'
Record the exact returned path. Inspect its numeric owner from both host and
container and read/write it as the service account. For this example, expect
host 101000:101001 and guest 1000:1001, provided no group inheritance or
ACL changes the result. A failure requires checking the observed identity and
path permissions, not widening access to everyone.
If reverting the lab changes, stop the service, restore the recorded directory owner/mode and saved mount configuration, and remove only the named disposable test file. Custom maps require a separate stopped-container migration plan: they can change how existing rootfs and data ownership appears.
Bind-mounted data is not included in an ordinary container backup. Preserve it separately with numeric ownership and required ACLs, then restore it to a separate test path before starting a restored container. Recheck the map on the recovery host and prove application access. See the backup boundary checklist.