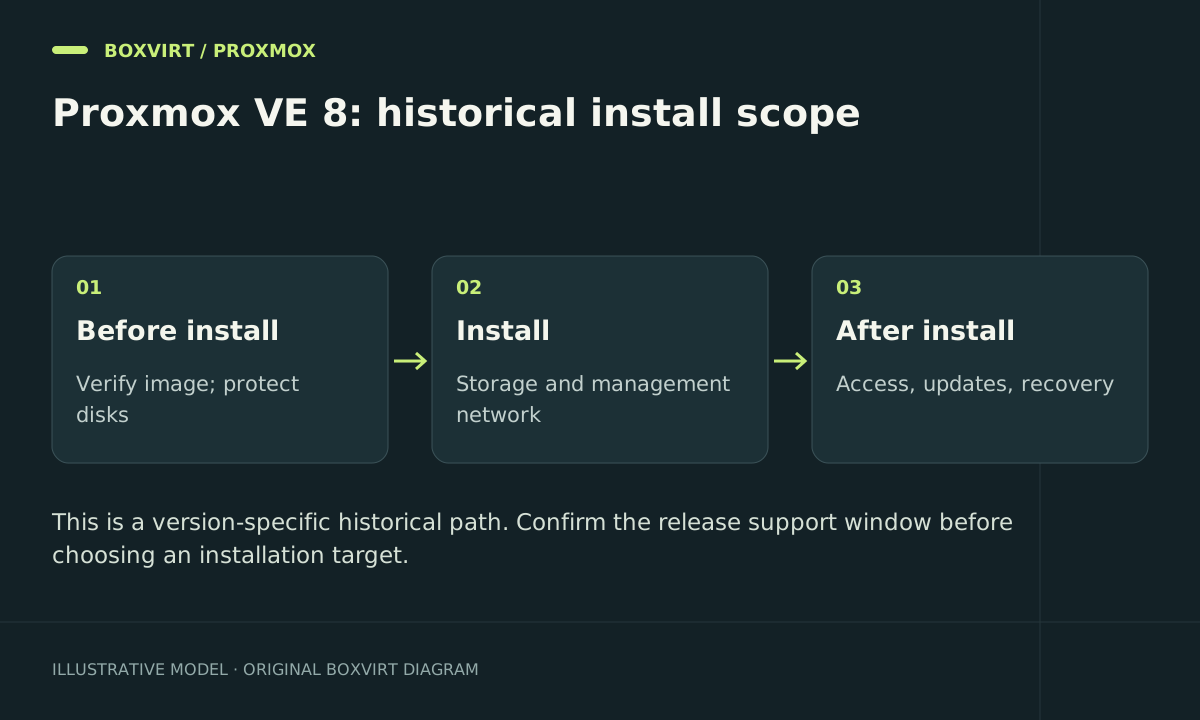
This guide documents the Proxmox VE 8 installation workflow for an existing environment or a controlled compatibility lab. It is a historical guide: Proxmox’s official VE 9 announcement set the VE 8.4 security and critical-fix support window through August 2026, which has passed as of this review on 18 October 2026.
For a new maintained host, choose a release that is currently supported. Do not interpret an available VE 8 ISO as evidence that the branch still receives security maintenance. The steps below have been reviewed against documentation, but this exact installer has not been reproduced in a Boxvirt hardware lab.
Decide between historical reproduction and migration
If you need VE 8 to understand an existing host, record the exact installed point release and the reason for retaining it. Keep a reproduction lab isolated from unnecessary external access. If the real goal is a maintained server, use the official upgrade guidance or a fresh supported installation with a tested restore.
Before upgrading an existing VE 8 system, read the complete version transition guide and resolve the preflight findings. The documented checker is:
pve8to9 --full
This checks an installed host; it does not upgrade it. Do not replace release names in repositories and start a distribution upgrade based on this article alone. Cluster and Ceph environments have additional ordering requirements.
Prepare disks, network settings, and console access
Identify each target disk by model, serial number, and capacity. Back up its contents somewhere independent and verify that you can read the backup. The installer removes existing data on selected drives. A VM snapshot is useful for a disposable nested lab but is not a substitute for protecting a physical disk’s data.
Record the intended hostname, management IP/prefix, gateway, DNS server, and physical NIC. Use the network planning guide to understand which interface becomes a bridge uplink. Keep local or out-of-band console access throughout the installation.
An illustrative management plan is pve-lab.example.com, 10.20.10.10/24, gateway 10.20.10.1. Replace all three with values that exist in your network, verify the address is free, and make the hostname resolve consistently for administration.
Verify version-specific installation media
Obtain the intended VE 8 image from the official Proxmox download/archive infrastructure. Check its exact filename, architecture, and published SHA-256 digest. For a downloaded file:
sha256sum proxmox-ve_8.x-EXACT-RELEASE.iso
That filename is a placeholder for your actual image. Compare the result with the official digest for that same release; calculating a checksum without a trusted value to compare does not verify authenticity.
Write the image with a suitable imaging tool after checking the destination USB device. For nested virtualisation, attach the ISO to a disposable VM and expose the necessary CPU virtualisation features. Nested success does not prove physical driver compatibility.
Follow the installer deliberately
- Boot the verified media and select the graphical or terminal installer offered by that release.
- Read the storage destination and filesystem options. Select the identified target disks, with the layout you intend to maintain and recover.
- Set locale and time zone, then create a unique administrative credential and an operational contact address.
- Select the management NIC and enter the planned hostname, address/prefix, gateway, and resolver.
- Review the final disk and network summary before confirming installation.
- Remove the installation media when appropriate and boot the installed host.
Secure Boot behavior is version-specific within VE 8; the official documentation notes that installers before 8.1 require it disabled. Avoid generalising an early VE 8 limitation to every later installer.
Check first boot before creating guests
Open https://<management-address>:8006 from a trusted management client. Initially, the node’s own CA may not be trusted by that client. Confirm the node identity through the console or another trusted path; do not make ignoring certificate warnings a routine habit.
Inspect the host:
pveversion -v
ip -br address
ip route
hostname -f
systemctl --failed
systemctl status pveproxy
Compare the results with the recorded plan. Configure only repositories appropriate to the installed release and subscription arrangement. On an unsupported historical branch, an apparently successful package update is not evidence of ongoing security support.
For a maintained replacement, configure trusted management certificates and prove a guest backup restore before migrating important workloads.
Recover from an installation or access problem
If the web interface is unreachable, use the console to check the NIC, bridge, address, default route, and pveproxy status. An incorrect gateway does not require repartitioning the machine.
If you installed onto the wrong disk, stop writes and assess recovery from your independent backup; repeating installation will not undo the damage. For an unsuccessful platform migration, use the prepared reinstall-and-restore plan rather than assuming an in-place downgrade will reverse all changes.
Frequently asked questions
Is Proxmox VE 8 still the right version for a new server?
Its announced support window through August 2026 has passed at this review date. Choose a supported release for new maintained deployments.
Does Debian support automatically extend Proxmox VE 8 support?
Do not assume that it does. The hypervisor includes its own kernel and package lifecycle. Use Proxmox’s support policy for the platform you are running.
Why does port 8006 fail after installation?
Check the selected NIC, link state, prefix, duplicate address, client route, firewall, and pveproxy from the console. Work from local connectivity outward.
Can I safely reinstall without backing up guests?
Do not assume guest disks or host configuration will survive an installer operation. Create and verify independent backups before replacing a host installation.