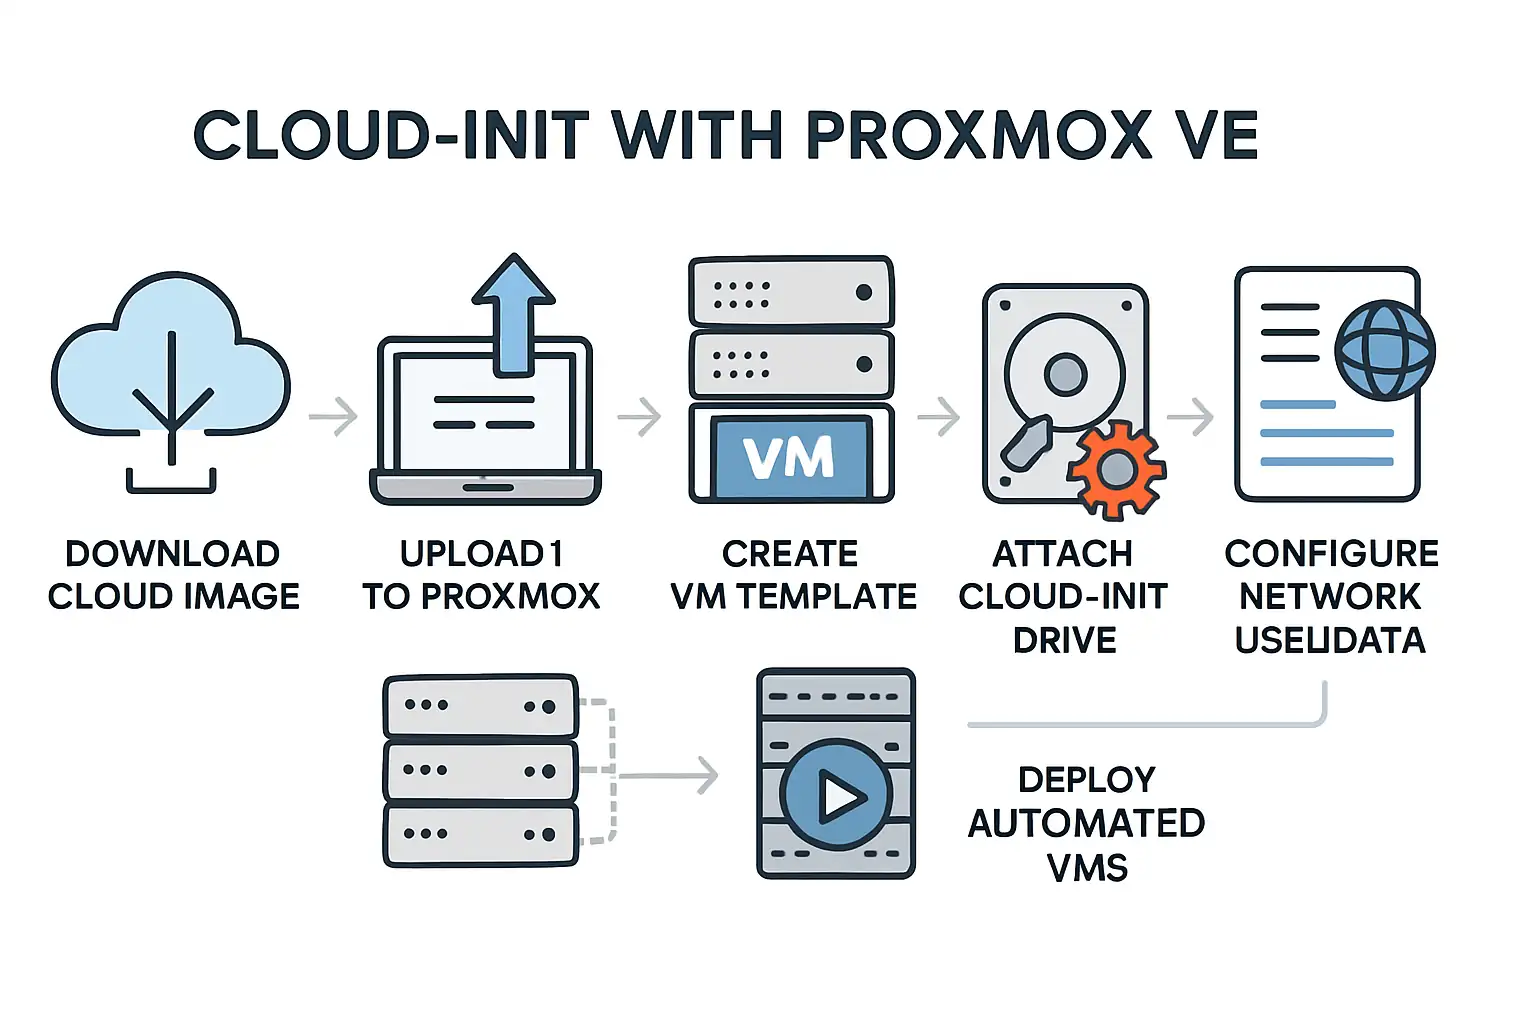
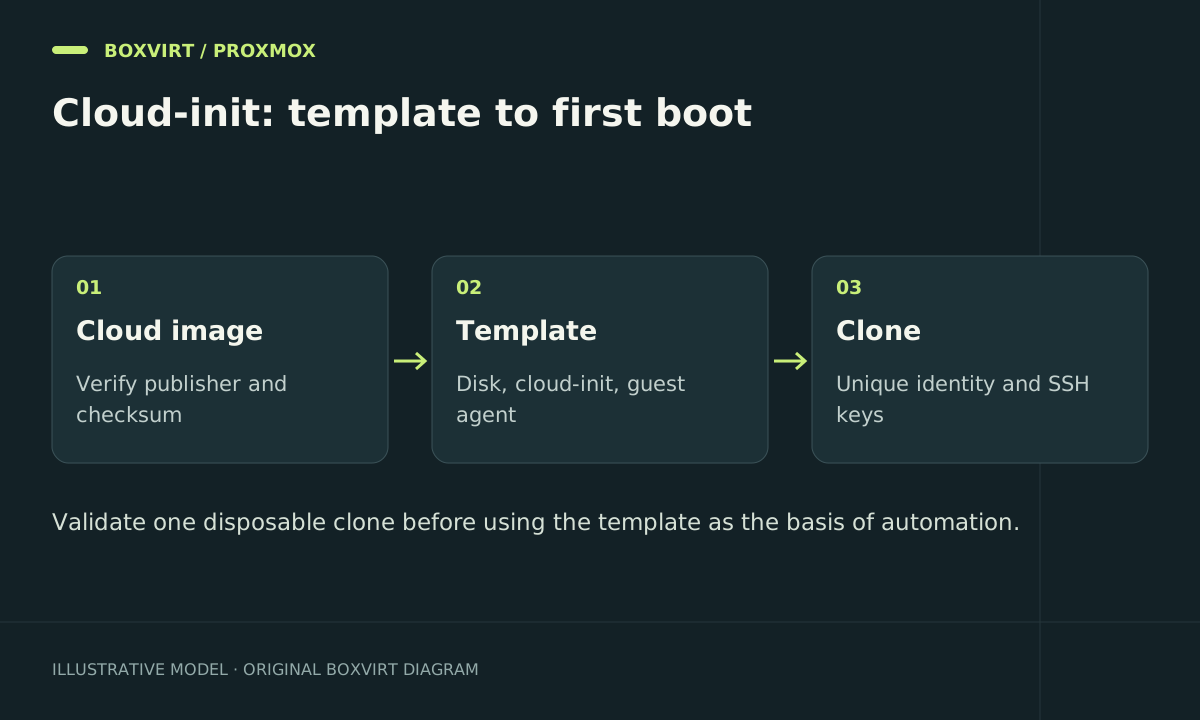
A Proxmox cloud-init template combines a distribution cloud image with a metadata drive that supplies each clone’s user, SSH key, and network configuration. Build the base once, keep it free of personal secrets, and configure a separate clone before its first boot.
The example below is adapted from the documented Proxmox workflow. It is a lab recipe requiring an image and storage compatibility test, not a claim that this exact combination has been run on Boxvirt hardware.
Choose the image and reserve the lab resources
Download a maintained distribution cloud image from its official publisher and verify the publisher’s checksums/signatures. Record the image version and checksum so you can rebuild the same template. An installer ISO is not interchangeable with a cloud disk image.
The worked example assumes:
| Item | Example | Check before running |
|---|---|---|
| Template VM ID | 9000 | Unused in the cluster |
| Test clone ID | 123 | Also unused |
| Storage | local-lvm | Available, enough capacity, accepts VM disks |
| Bridge | vmbr0 | Connected to the intended test network |
| Image | /var/lib/vz/template/iso/ubuntu-cloud.img | Your verified Ubuntu cloud image, renamed locally |
Inspect existing guests and storage with qm list and pvesm status. If your bridge carries VLANs, confirm the bridge and VLAN design before provisioning a guest.
Create a stopped template
Run these on the Proxmox node after substituting your image path and storage. They allocate a new VM and import its disk; do not reuse an existing VM ID.
qm create 9000 --name ubuntu-cloud-template --memory 2048 \
  --net0 virtio,bridge=vmbr0 --scsihw virtio-scsi-pci
qm set 9000 --scsi0 local-lvm:0,import-from=/var/lib/vz/template/iso/ubuntu-cloud.img
qm set 9000 --ide2 local-lvm:cloudinit
qm set 9000 --boot order=scsi0
qm set 9000 --serial0 socket --vga serial0
qm config 9000
The system boots from scsi0; ide2 supplies cloud-init metadata. The serial console is appropriate for many cloud images, but confirm your image’s console requirements. Do not boot this base with your reusable login password or application tokens.
When the hardware is correct, convert the stopped VM:
qm template 9000
Clone and customise before the first boot
Make a full clone for a simple independent lab disk allocation. Linked clones have different storage dependencies.
qm clone 9000 123 --name lab-web-01 --full 1
qm set 123 --ciuser labadmin --sshkey /root/.ssh/labadmin.pub
qm set 123 --ipconfig0 ip=dhcp
qm cloudinit dump 123 user
qm cloudinit dump 123 network
The .pub file must contain the administrator’s public key; never put a private key in cloud-init metadata. Inspect dumped data privately because future custom snippets may contain secrets.
For a statically allocated lab address, replace the DHCP setting before boot:
qm set 123 --ipconfig0 ip=10.20.30.123/24,gw=10.20.30.1
This example only fits a network that actually uses that subnet and gateway. Check the prefix with the Subnet Calculator and reserve the address outside conflicting DHCP allocations. Then start the clone with qm start 123.
Verify the clone from console and SSH
Inside the guest, inspect:
cloud-init status --long
ip -br address
ip route
Confirm the expected username, successful key login, hostname, DNS resolution, and package repository access. Compare the guest’s SSH host key fingerprint through the console before trusting a new SSH connection. Record completion time and any image-specific changes.
If the VM boots but has no address, compare the NIC, bridge, VLAN, and rendered cloud-init network data. If it has an address but SSH fails, check the username and public key before changing firewall policy. For a blank serial console, verify the image’s console settings instead of rebuilding the network.
Rebuild templates without changing deployed machines
Version templates by image date or an internal revision, test a fresh clone, and retire the previous base only after dependent clones are understood. Existing clones do not automatically inherit a rebuilt template. Keep lifecycle changes in a separate Terraform workflow when you need repeatable resource management.
Frequently asked questions
Must I install cloud-init on the Proxmox host?
No. The guest image runs cloud-init. Proxmox presents its data through the configured metadata drive.
Why did changing user data not rerun my first-boot script?
Cloud-init distinguishes first boot from later boots and modules have their own frequencies. Create a fresh test clone or follow the image’s documented cleaning process; do not assume every metadata edit reruns every module.
Can I turn an already used VM into a clean template?
Only after preparing it appropriately. Personal credentials, SSH host keys, machine identity, and cloud-init instance state can otherwise be copied. Prefer a verified clean cloud image for this workflow.
Is cloud-init a backup or an update system?
No. It provisions initial settings. Maintain guest updates separately and protect important guest data through a Proxmox backup and restore plan.