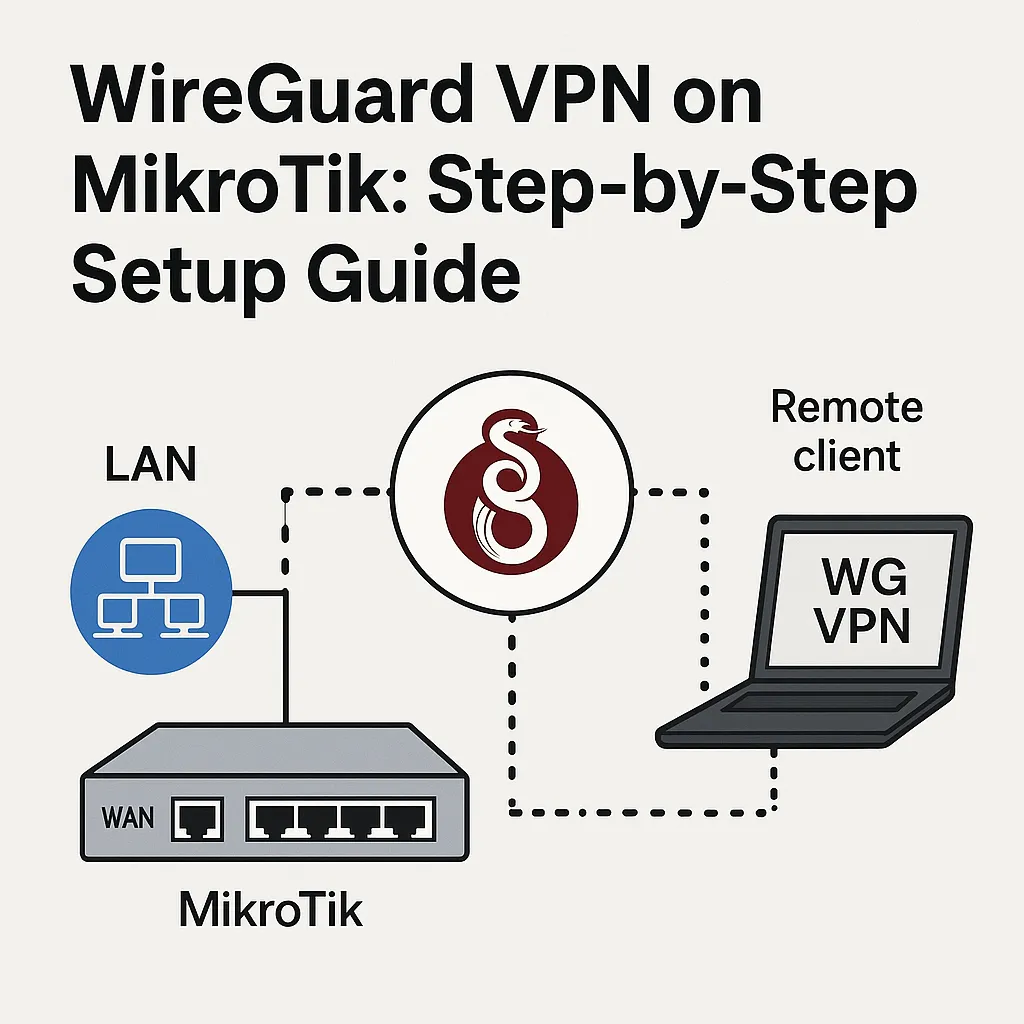
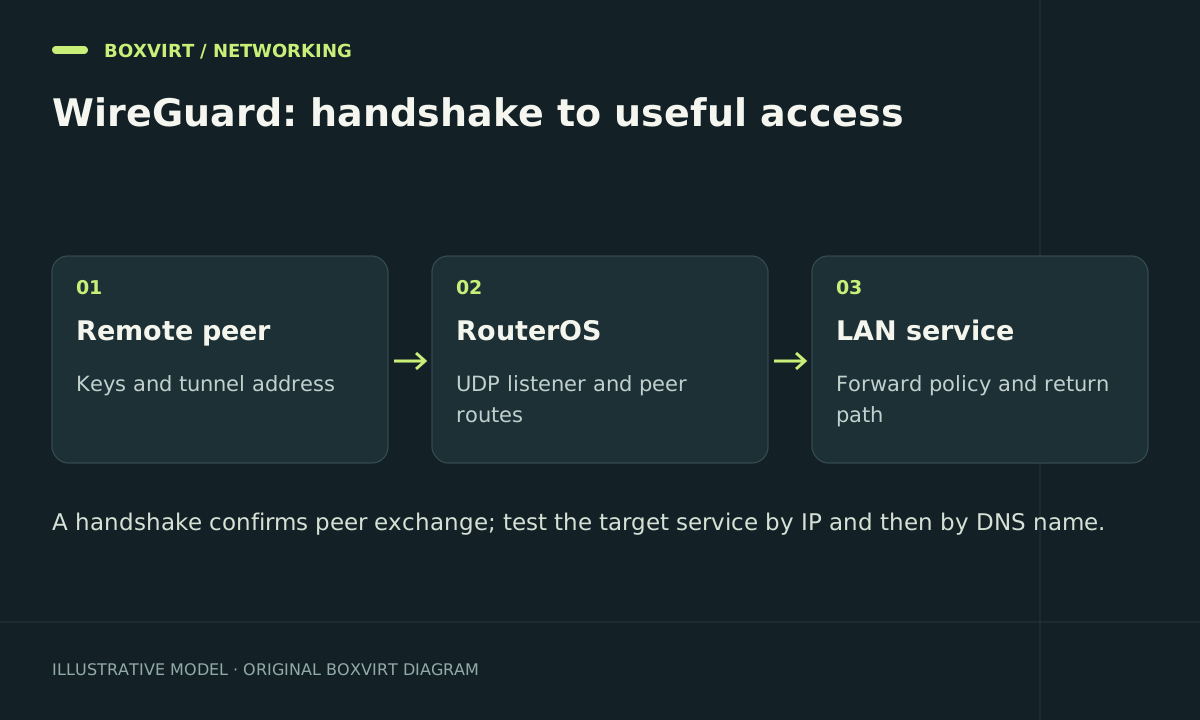
A remote-access WireGuard tunnel on MikroTik needs three separate permissions: the encrypted UDP connection must reach the router, the peer must be recognised by its public key, and the decrypted traffic must be allowed to reach its destination. A recent handshake proves the middle part; it does not prove access to your NAS.
This RouterOS 7 example designs a split tunnel to one HTTPS service. It deliberately avoids giving a laptop unrestricted access to every LAN or router service. The commands are documentation-based examples, not a configuration tested on your device.
Choose addresses and a reachable endpoint
| Role | Example value |
|---|---|
| WireGuard interface | wg-remote |
| Router tunnel address | 10.77.0.1/24 |
| Laptop tunnel address | 10.77.0.2/32 |
| NAS address and service | 192.168.50.100:443 |
| Router UDP listener | 13231 |
| Public endpoint | vpn.example.com:13231 — replace with yours |
Check that 10.77.0.0/24 does not overlap your LAN, another VPN, or the remote client’s local network. The Subnet Calculator helps check boundaries, but only your network inventory can establish which ranges are already used.
The endpoint needs reachable inbound UDP: a public router address or a suitable upstream port forward. Carrier-grade NAT requires a different connectivity design, such as a reachable relay or hub. A DNS name alone does not bypass NAT.
Create the interface and register one client
Keep an independent administration session and follow the RouterOS safe-change workflow before adding firewall permissions. Inspect existing interface names first; do not rerun add commands over an existing setup.
/interface wireguard add name=wg-remote listen-port=13231 comment="Boxvirt remote-access example"
/ip address add address=10.77.0.1/24 interface=wg-remote comment="Boxvirt tunnel subnet"
:put [/interface wireguard get [find name=wg-remote] public-key]
Generate the laptop’s key pair in its WireGuard application. Keep its private key on that device. Paste its public key into the router peer entry, replacing the placeholder:
/interface wireguard peers add interface=wg-remote public-key="REPLACE_WITH_CLIENT_PUBLIC_KEY" allowed-address=10.77.0.2/32 comment="Boxvirt laptop peer"
The router generates its own interface keys. Share only the public key printed above. Each additional client needs its own key and a distinct tunnel address. The router’s peer allowed-address identifies addresses belonging to that client; it is not the list of LAN services the client may access.
Configure the laptop as a split tunnel
This is a client configuration template. Replace the keys and endpoint before importing it:
[Interface]
PrivateKey = REPLACE_WITH_CLIENT_PRIVATE_KEY
Address = 10.77.0.2/32

[Peer]
PublicKey = REPLACE_WITH_ROUTER_PUBLIC_KEY
Endpoint = vpn.example.com:13231
AllowedIPs = 10.77.0.1/32, 192.168.50.100/32
PersistentKeepalive = 25
The laptop sends traffic for those two destinations into the tunnel; its ordinary internet traffic keeps its existing route. PersistentKeepalive is useful when the laptop is behind NAT and needs to retain a mapping during idle periods. It is not a remedy for an unreachable router endpoint.
No DNS setting is included: first prove access by IP. If you later choose an internal resolver, include its address in the client routes and grant the required DNS access separately.
Add only the required firewall permissions
The two example rules below are created disabled. Confirm that your actual uplink belongs to interface list WAN. In WinBox or the terminal, place each rule before the relevant blocking rule in its own chain, then enable it individually. Do not place rules ahead of deliberate security checks without reviewing the resulting order.
/ip firewall filter add chain=input action=accept in-interface-list=WAN protocol=udp dst-port=13231 disabled=yes comment="Boxvirt WG listener"
/ip firewall filter add chain=forward action=accept in-interface=wg-remote src-address=10.77.0.2/32 dst-address=192.168.50.100 protocol=tcp dst-port=443 disabled=yes comment="Boxvirt WG laptop to NAS HTTPS"
The listener belongs to input; laptop-to-NAS traffic belongs to forward. The latter policy also needs an existing, correctly ordered allowance for established replies. Do not add the VPN interface to a broadly trusted LAN list merely to bypass troubleshooting.
The NAS must send replies for 10.77.0.2 back through this router. If another gateway is used, add the appropriate return route there. Source NAT is a topology-specific alternative that hides the client’s original address; it is not automatically required for WireGuard.
Verify from mobile data or another external network
Inspect the peer after making a connection attempt:
/interface wireguard peers print detail where interface=wg-remote
/ip firewall filter print stats
/ip route print
Use the latest handshake and receive/transmit counters to separate tunnel establishment from service access. On a client with curl, test curl --connect-timeout 5 -I https://192.168.50.100/; a certificate-name failure still requires a proper hostname test, rather than disabling certificate validation as the final fix. Test a service that should remain denied as well.
| Observation | Next check |
|---|---|
| No recent handshake after sending traffic | Endpoint address, UDP path, keys, input rule |
| Handshake, no NAS connection | Client route, peer address, forward counter, NAS firewall and return route |
| IP access works, hostname fails | Client DNS selection and resolver reachability |
| Small requests work, larger transfers stall | Path MTU and ICMP delivery before changing MTU values |
To roll back the example, disable its two uniquely commented firewall rules and its peer, then disable wg-remote. Keep the keys and configuration only if they remain needed; revoke a lost laptop’s peer rather than sharing one identity among clients.
Frequently asked questions
Why does WireGuard show a handshake but no traffic to the LAN?
The handshake authenticates the peers. LAN traffic still needs a client route, suitable peer addressing, a forward allowance, and a working return path. Check those separately instead of regenerating keys first.
Should the router peer use Allowed Address 0.0.0.0/0?
Not for the single laptop in this example: only 10.77.0.2/32 belongs to it. A default route on the client’s AllowedIPs is a different decision for a full-tunnel design and needs internet forwarding, egress translation where appropriate, and an IPv6 policy.
Can I use the router as the VPN DNS server?
Yes, if it is intentionally configured to answer remote requests. Permit both required DNS transports from the intended VPN clients in input, route the resolver address through the tunnel, and avoid exposing the resolver to arbitrary WAN clients.
Does this example tunnel IPv6 internet traffic?
No. It routes only the stated IPv4 destinations. A full dual-stack tunnel needs explicit IPv6 addresses, routes, peer ranges, DNS decisions and IPv6 filtering; adding ::/0 alone is insufficient.