Introduction
Architecting self-hosted environments often means juggling security, automation, and developer productivity. One core element of modern web infrastructure is the reverse proxy—a front-line component that routes, authenticates, and secures all incoming connections. Traefik, praised for its dynamic configurability and seamless container integration, is the tool of choice for many cloud-native enthusiasts.
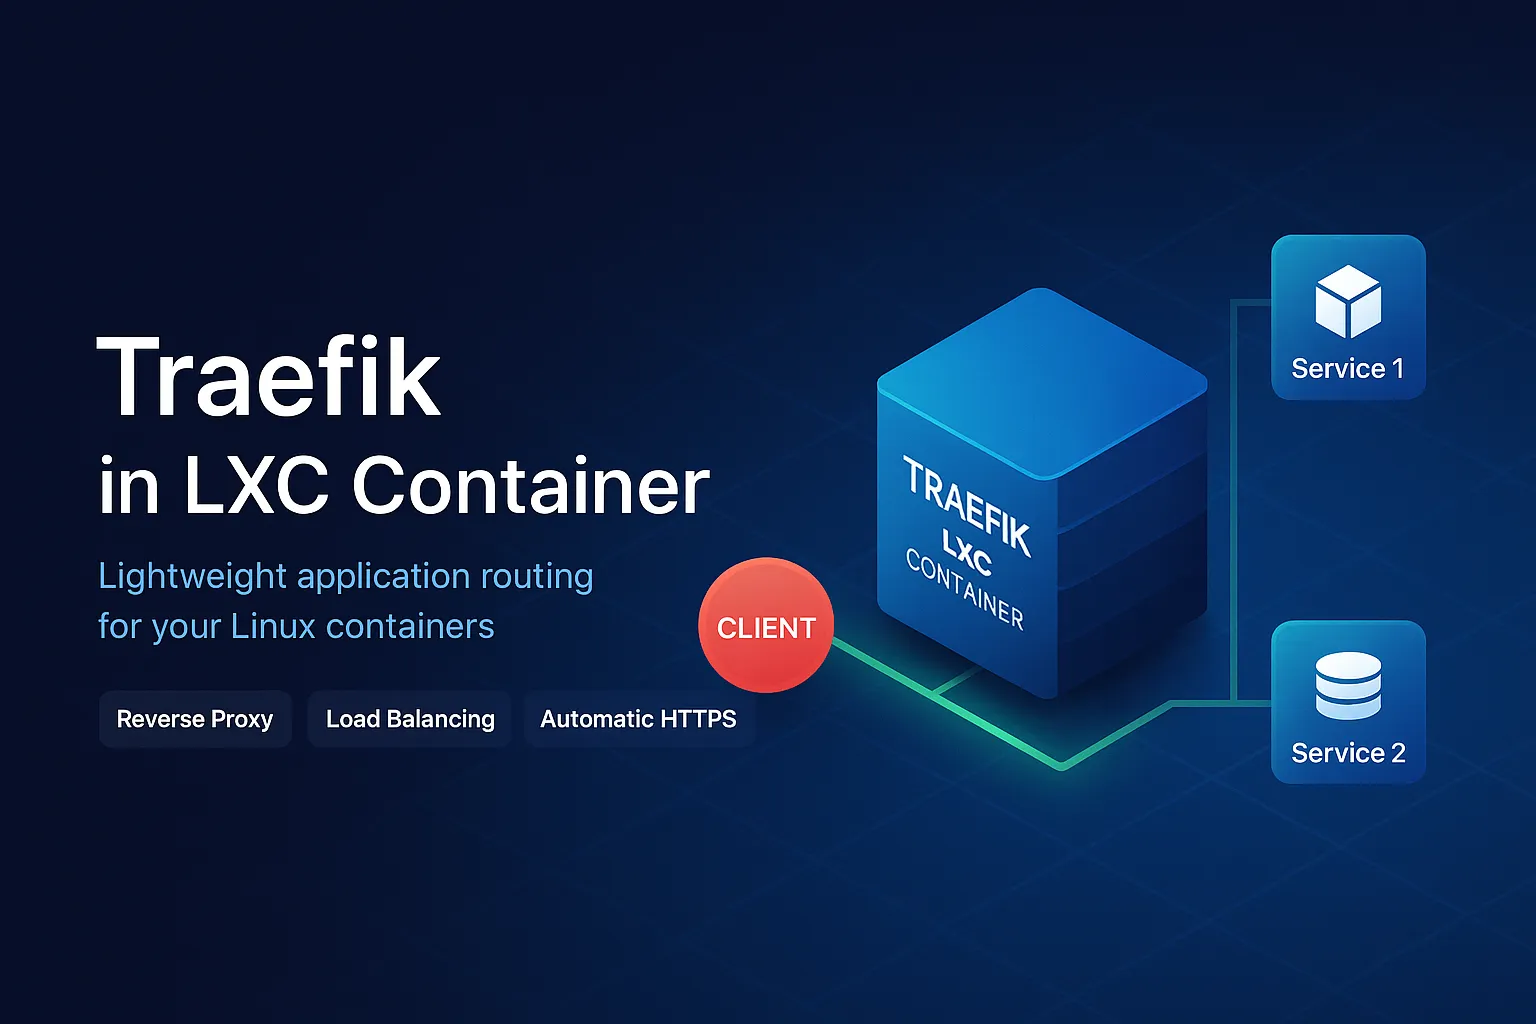
This in-depth article walks you through deploying Traefik inside a Linux Container (LXC), discussing not only the hands-on how-to, but the broader design logic and key pitfalls to avoid.
Why Traefik in LXC?
Containers offer lightweight, isolated environments for services. Running Traefik within LXC brings multiple advantages:
- Resource Efficiency: LXC containers spin up faster and consume less overhead than classic VMs.
- Isolation: Keep your reverse proxy separate for easier upgrades, failure domains, and maintenance.
- Central Control: Manage SSL, routing, and authentication centrally for all downstream services.
Preparing the LXC Container
Step 1: Create and Secure the LXC
- Spin up a new LXC container using your virtualization platform (Proxmox, for example).
- Assign basic network and storage resources.
- Ensure your container’s OS is up-to-date and hardened:
- apt update && apt upgrade -y
Step 2: Install Docker (Optional)
While LXC is great for most services, Traefik shines when managing Docker-based containers. Installing Docker inside LXC enables dynamic service discovery.
- apt install docker.io -y
- systemctl enable —now docker
Make sure to adjust LXC privileges and kernel modules if Docker faces issues (LXC may require nesting=1 and some cgroups settings).
Traefik: Dynamic Reverse Proxy, Simply Explained
Traefik auto-discovers services and dynamically updates routes as containers go live or shut down. Its key concepts:
- EntryPoints: Which ports Traefik listens to (typically 80/443).
- Routers: Rules for how requests are matched (by host, path, etc.).
- Services: Where traffic gets forwarded.
- Middleware: Request processing rules (JWT authentication, rewrite URLs, add headers).
Traefik’s configuration typically includes a static file (for entryPoints and provider setup) and a dynamic one (to express routers, services, middleware).
Hands-On: Setting Up Traefik in LXC
Step 1: Directory Structure
Establish a directory (e.g., /opt/traefik) for configs, certificates, and logs. Best practice: separate static and dynamic config files for clarity and version control.
Make sure your domain and DNS wildcard are set up correctly (*.yourdomain.com).
Generate acme.json:
touch /etc/traefik/acme.json
chmod 600 /etc/traefik/acme.json
Step 2: Compose Your docker-compose.yml
Here’s a refined example for a Traefik container:
version: '3'

services:
  traefik:
    image: traefik:latest
    restart: unless-stopped
    command:
      - "--providers.docker=true"
      - "--entrypoints.web.address=:80"
      - "--entrypoints.websecure.address=:443"
      - "--certificatesresolvers.myresolver.acme.httpchallenge=true"
      - "--certificatesresolvers.myresolver.acme.httpchallenge.entrypoint=web"
    ports:
      - "80:80"
      - "443:443"
    volumes:
      - /var/run/docker.sock:/var/run/docker.sock:ro
      - ./config:/etc/traefik
      - ./acme.json:/acme.json"
    networks:
      - proxy

networks:
  proxy:
    external: true
Best practices:
- Least privilege: Mount Docker socket read-only if needed.
- ACME storage: Secure
acme.jsonwith proper file permissions! - External network: Use Docker networks to group all reverse-proxied containers logically.
Step 3: Configure Traefik’s Dashboard and Security
- Enable the Traefik dashboard on a non-public URL or restrict access via middleware and IP whitelisting.
- Always apply HTTPS and, if possible, enable basic or OAuth authentication for dashboard endpoints.
Step 4: Automate SSL and Routing
- Define
certificatesResolversfor Let’s Encrypt certificates—Traefik can automate issuance and renewal. - Use labels in Docker Compose to automatically register new services with
labels:- "traefik.enable=true"- "traefik.http.routers.myapp.rule=Host(`myapp.example.com`)"- "traefik.http.services.myapp.loadbalancer.server.port=8080"
Step 5: Logging and Monitoring
- Map a logs directory and enable access/error logging in your config files.
- Leverage Prometheus metrics and alerting if running at scale.
Troubleshooting & Expert Tips
- Networking quirks: LXC containers may require custom bridges or NAT rules if you run multi-host clusters.
- Security: Regularly update Traefik for CVE patches; segment your networks tightly.
- Backup: Include your config and certificate stores in regular backups—losing SSL keys can disrupt all access.
Conclusion
Deploying Traefik in an LXC container is a modern, scalable approach to exposing and securing self-hosted services. With Docker integration, dynamic config, and enterprise-grade SSL automation built in, Traefik makes reverse proxying powerful yet accessible.
Whether you’re crafting your home lab or laying the groundwork for production infrastructure, understanding these patterns will put you ahead of the game. Experiment, iterate, and customize—Traefik is as flexible as your architecture requires.
