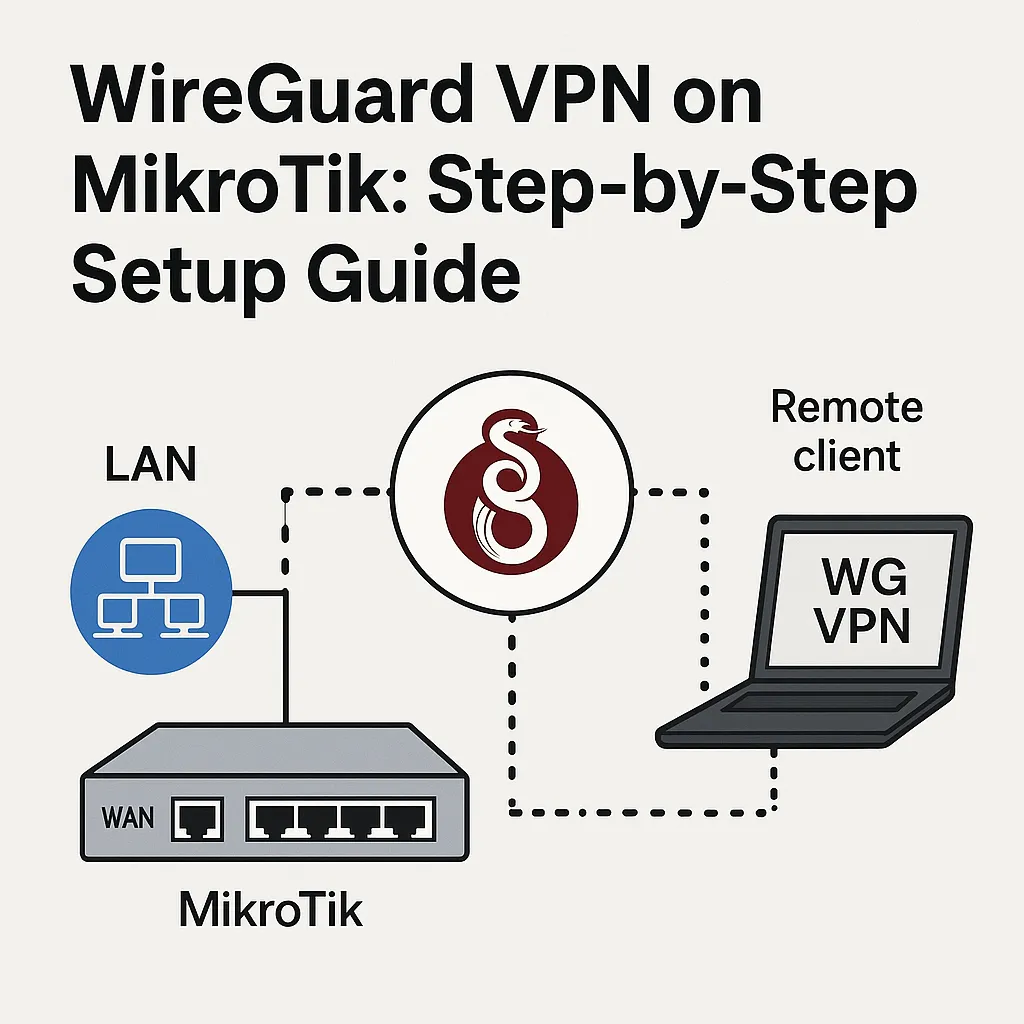
Want to connect to your home network from anywhere? Or route all your MikroTik traffic through a VPS with a static IP? Then WireGuard is your best friend. Here’s how I personally set it up — step-by-step, no fluff, no jargon.
🔹 Why WireGuard?
WireGuard is a modern VPN protocol. It’s fast, lightweight, and refreshingly simple — no certificates, no massive config files. Just a few keys, IPs, and you’re good to go. If you’re on RouterOS 7+, you’re ready.
🧰 What You’ll Need
- A MikroTik router running RouterOS 7.1+
- Access to Winbox or the terminal
- A basic idea of who’s the server and who’s the client
- A few minutes (and maybe a coffee ☕)
🔌 Step 1: Create the WireGuard Interface
- Open Winbox → Interfaces → WireGuard
- Click the
+and name your interface something likewg0 - Choose a port, like
13231 - Generate a keypair using the terminal:
/interface wireguard key print
Save both Private and Public keys somewhere safe.
🤝 Step 2: Add the Peer (the other side)
- Go to WireGuard → Peers
- Add a new peer:
- Public Key from the other side (your client or VPS)
- Allowed Address: e.g.,
192.168.100.2/32 - Endpoint: optional if you’re not the client
- Persistent Keepalive:
25sif the peer is behind NAT
🧾 Step 3: Assign an IP Address to wg0
Go to IP → Addresses, click +:
- Address:
192.168.100.1/24 - Interface:
wg0
That’s the MikroTik’s IP inside the VPN tunnel. Your client might be 192.168.100.2.
🛣️ Step 4: Add a Route (If Needed)
If you’re connecting two networks (site-to-site), you’ll need to add a static route:
/ip route add dst-address=192.168.200.0/24 gateway=192.168.100.2
🔥 Step 5: Add Firewall Rules
Let’s make sure traffic is allowed:
/ip firewall filter add chain=input protocol=udp dst-port=13231 action=accept
/ip firewall filter add chain=forward src-address=192.168.100.0/24 action=accept
Optional: lock down your WAN completely (for extra paranoia):
/ip firewall filter add chain=input in-interface=ether1 connection-state=new action=drop
🖥️ Step 6: Client Configuration (Linux Example)
[Interface]
PrivateKey = <your-client-private-key>
Address = 192.168.100.2/24

[Peer]
PublicKey = <mikrotik-public-key>
Endpoint = your.domain.com:13231
AllowedIPs = 0.0.0.0/0
PersistentKeepalive = 25
It’s the same on Windows — just paste it into the WireGuard GUI.
🧪 Step 7: Test It
- Ping
192.168.100.1from the client - In Winbox, check Interface → WireGuard — you should see traffic
- Still not working? Read below ⬇️
🧯 Common Issues (and Fixes)
| Problem | Fix |
|---|---|
| Nothing connects | Double-check the public/private keys |
| One-way ping | You’re missing a route |
| Tunnel doesn’t come up | Check firewall or port forwarding (especially if MikroTik is behind NAT) |
✅ Summary
So far, you’ve:
- Set up a working WireGuard VPN on MikroTik
- Secured communication between two points
- Opened the door to advanced use cases — static IP via VPS, remote access, multi-site routing