Introduction
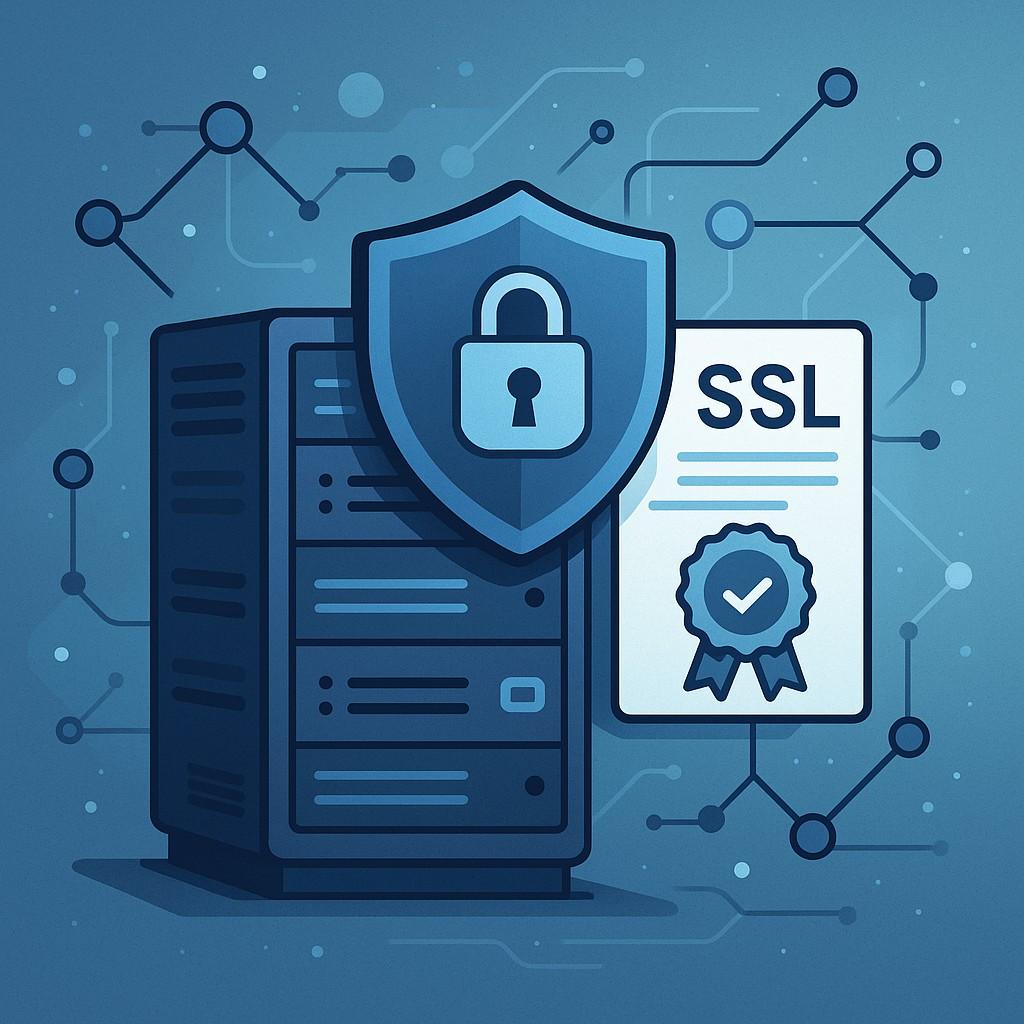
Managing your Proxmox server securely is essential for both data protection and user convenience. One of the most effective ways to enhance security is by installing a valid SSL certificate. This eliminates browser warnings and ensures encrypted connections, even within your local network. In this article, you’ll learn how to quickly and freely set up automatic SSL certificate renewal using Let’s Encrypt and the built-in ACME mechanism in Proxmox.
Why Use Let’s Encrypt with Proxmox?
- Security: All sensitive data, including logins and passwords, is transmitted over encrypted channels.
- Trust: Browsers will recognize your certificate as valid, eliminating self-signed warnings.
- Convenience: Certificates renew automatically, requiring minimal user intervention.
What You Need
- An up-to-date version of Proxmox
- A real domain name managed by your DNS provider (e.g., Cloudflare, etc.)
Step-by-Step Instructions
1. Prepare Your Domain Name
- Register a domain with any provider of your choice.
- Set up DNS records with your DNS provider.
2. Configure ACME in Proxmox
- Go to the ACME section in your Proxmox datacenter.
- Under Accounts, click Add:
- Enter a descriptive account name.
- Provide your email address.
- Select Let’s Encrypt V2 (Production) as the ACME directory.
- Accept the terms and register the account.
3. Add a Challenge Plugin
- In the Challenge plugins section, click Add:
- Name your plugin for easy identification.
- Select your DNS provider from the dropdown menu.
- Enter the required credentials (e.g., token and zone ID for Cloudflare).
- Save the configuration.
4. Issue the Certificate for Your Node
- Go to the Certificates section of your chosen node.
- In the ACME area, click Add:
- Choose the DNS challenge type.
- Enter your email and select the previously created plugin.
- Specify your domain and zone.
- Click Create, then Issue Certificate Now.
- The process takes about a minute; your certificate will be issued and installed.
5. Set Up the DNS Record
- Add the appropriate DNS entry in your DHCP server so the subdomain points to your Proxmox server’s IP.
- Access to Proxmox will now be secured via your domain name.
Pro Tips
- Monitor your domain’s renewal dates to prevent SSL interruptions.
- For Cloudflare, always use a dedicated API token instead of the global key for enhanced security.
This guide provides a streamlined, secure, and fully automated way to manage SSL certificates in Proxmox, ensuring both safety and convenience for administrators and users.