Introduction
So, you’ve decided to build your own powerful server with Proxmox VE? Excellent choice! You’re on your way to creating an amazing homelab or small business environment. This guide is designed for absolute beginners and will walk you through every single step of the installation process. Don’t worry, it’s easier than you think!
By the end of this tutorial, you will have a fully functional Proxmox VE 8 host up and running. Let’s begin!
What You’ll Need
- A dedicated physical computer or server that meets the minimum hardware requirements.
- A USB flash drive (at least 4GB).
- Access to another computer to download the software and create the bootable drive.
Step 1: Download the Proxmox VE ISO Image
First, we need to get the installation file.
- Open your web browser and go to the official Proxmox downloads page.
- Look for Proxmox Virtual Environment.
- Download the latest ISO Installer (e.g., version 8.x). It will be a large file, so be patient.
Step 2: Create a Bootable USB Drive
Now we need to write that ISO file to a USB drive so your server can boot from it.
- Download and install a free tool called BalenaEtcher. It’s available for Windows, macOS, and Linux and is very user-friendly.
- Plug your USB drive into your computer.
- Open BalenaEtcher.
- Click «Flash from file» and select the Proxmox ISO file you just downloaded.
- Click «Select target» and choose your USB drive. Warning: This will erase everything on the drive, so make sure it doesn’t contain important data!
- Click «Flash!» and wait for the process to complete.
Step 3: Boot Your Server from the USB Drive
This is the most hands-on part.
- Plug the newly created bootable USB drive into your destination server.
- Power on the server.
- You need to enter the Boot Menu to tell the server to boot from the USB drive instead of its internal hard drive. This is usually done by pressing a specific key right after you power it on, such as F11, F12, F2, or Del. The correct key is often displayed on the screen briefly.
- From the Boot Menu, select your USB drive and press Enter.
Step 4: The Proxmox VE Installation Wizard

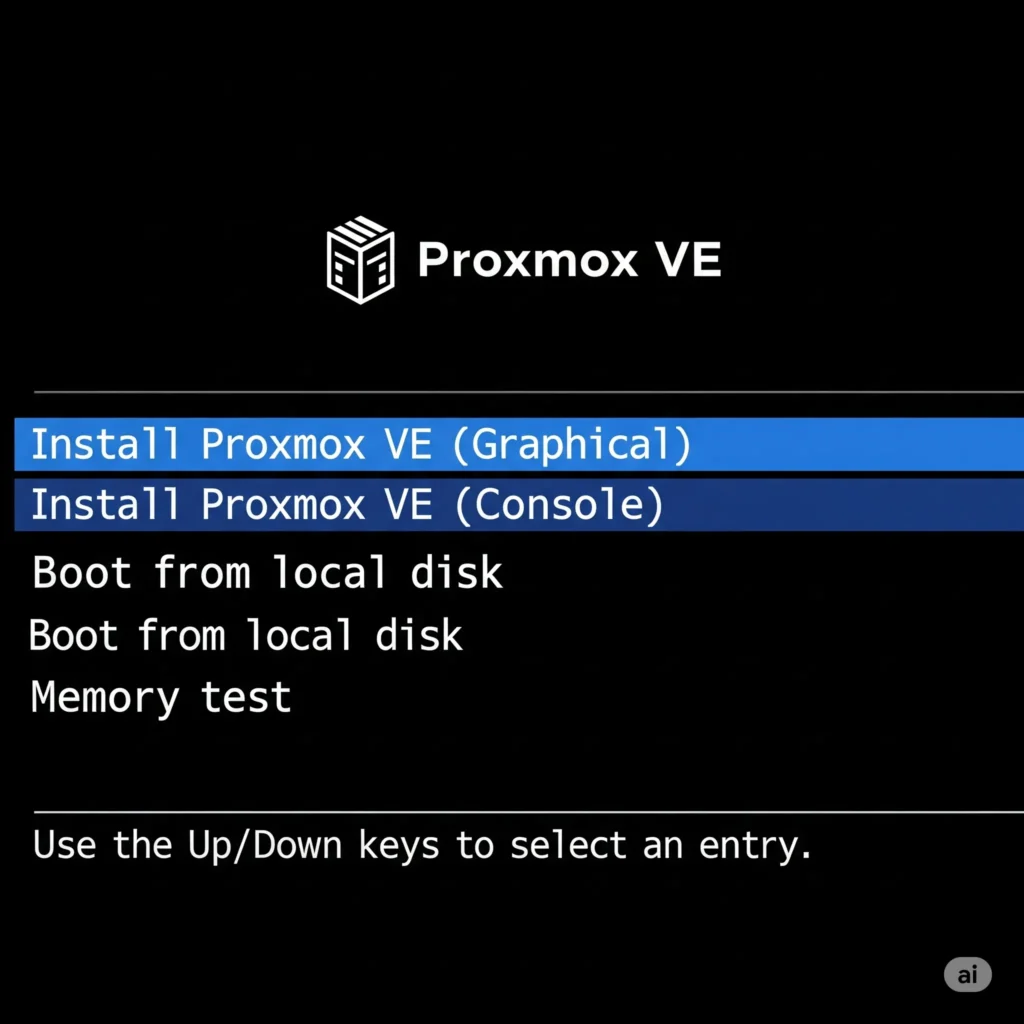
If all went well, you’ll see the Proxmox VE boot menu.
- Select «Install Proxmox VE (Graphical)» and press Enter.
- EULA: The first screen is the End User License Agreement. Click «I agree».
- Target Harddisk: Choose the hard drive where you want to install Proxmox. For most users with one drive, there will only be one option. Click «Next».
- Location and Time Zone: Set your country, time zone, and keyboard layout.
- Administration Password and Email: Enter a very strong password for the
root(administrator) user. You will use this to log in. Enter your email address for system notifications. - Network Configuration: This step is crucial. The installer will try to guess your network settings, but you should verify them.
- Management Interface: This will be your server’s main network card (e.g.,
ens18). - Hostname: Choose a name for your server, like
pve.mydomain.local. - IP Address: Set a static IP address. Do not use DHCP. This should be an address on your local network that is not used by any other device.
- Gateway: This is the IP address of your home router.
- DNS Server: You can often use your router’s IP address here as well, or a public DNS like
8.8.8.8.
- Management Interface: This will be your server’s main network card (e.g.,
- Summary: The final screen will show you a summary of all your choices. Double-check everything. When you’re ready, click «Install».
The installation process will now begin and take several minutes. Once it’s finished, the server will automatically reboot. Don’t forget to remove the USB drive!
Step 5: Your First Login!
After the reboot, your Proxmox server is live!
- On another computer on the same network, open a web browser.
- Navigate to the IP address you configured:
https://Your-Static-IP:8006 - You’ll see a security warning because Proxmox uses a self-signed certificate. This is normal. Click «Advanced» and «Proceed».
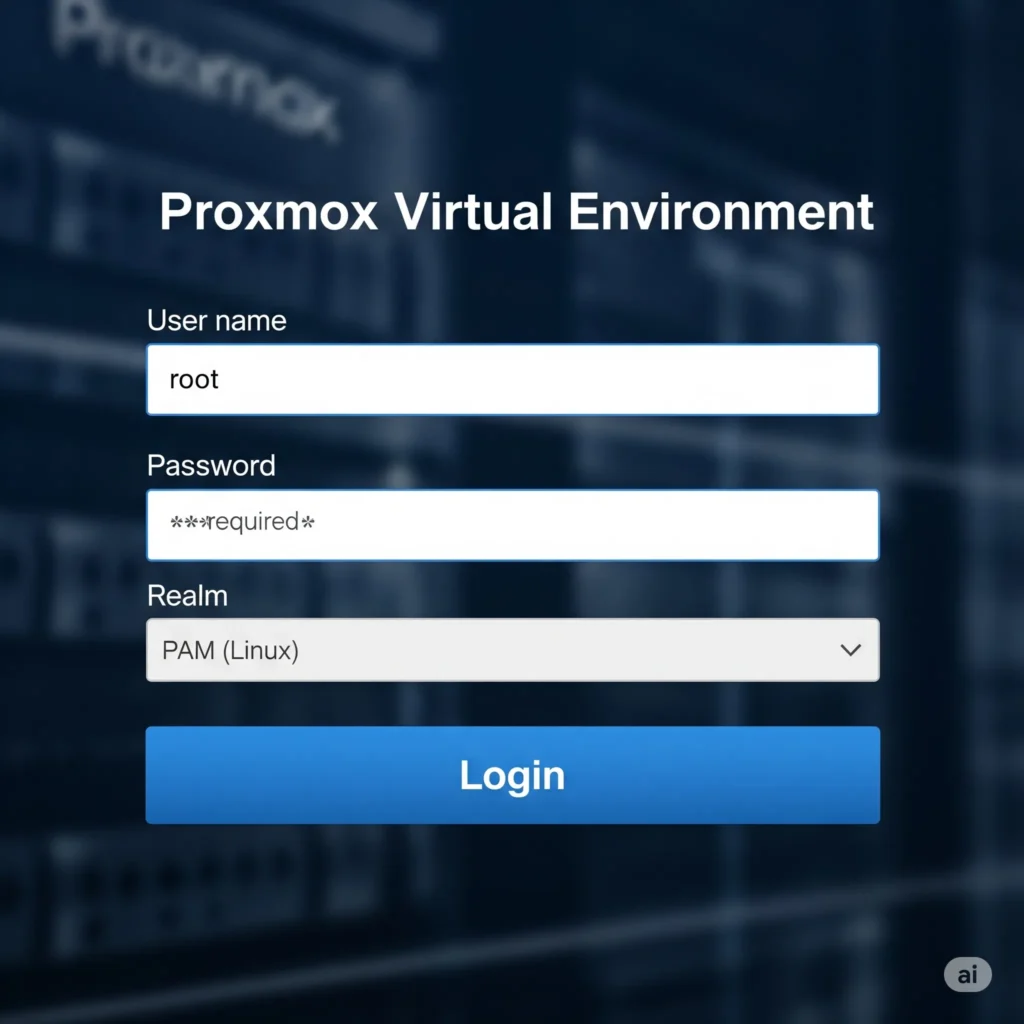
- At the login screen, enter the username
rootand the password you created. - Congratulations! You are now in the Proxmox VE web interface.
Now that you have Proxmox installed, it’s time to explore its full potential. Check out our Ultimate Guide to Proxmox VE to learn how to create VMs, configure networking, set up backups, and much more!