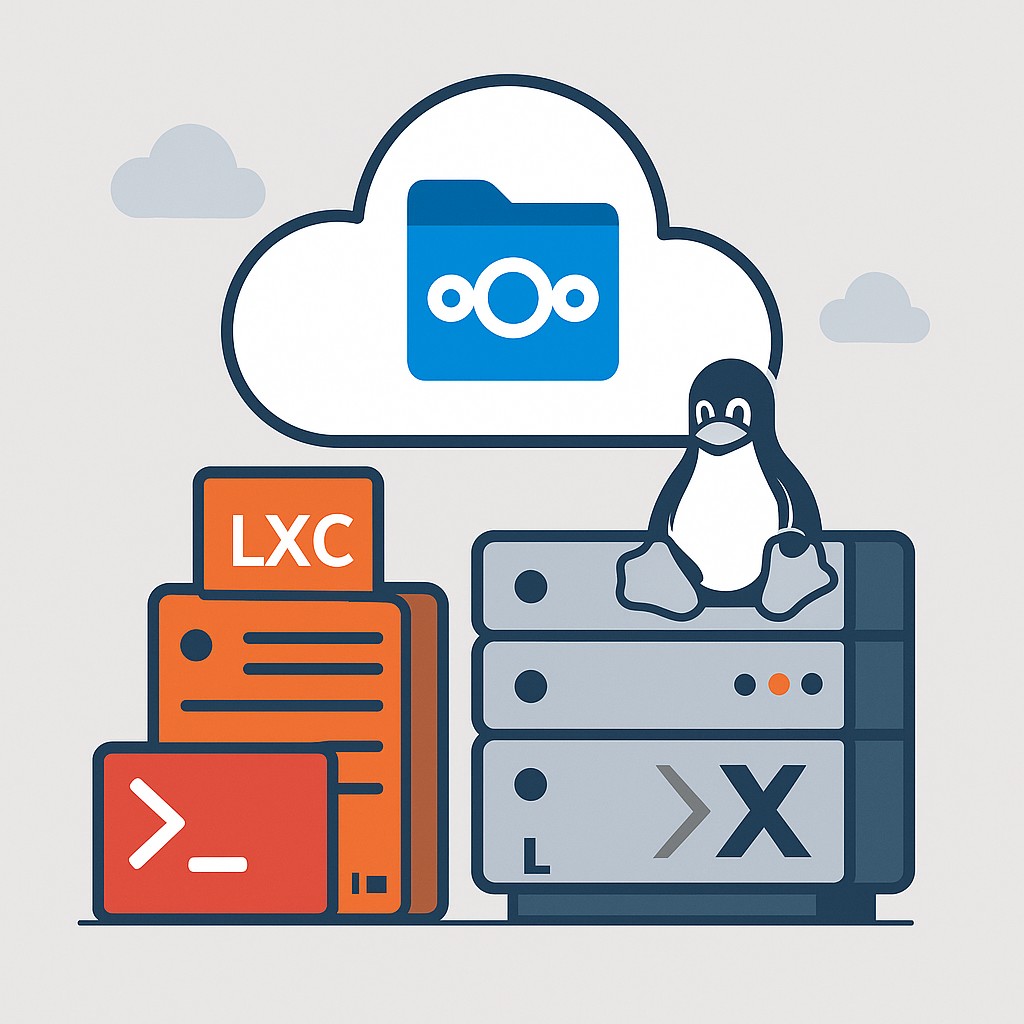
🔧 What You’ll Get
- A fully working Nextcloud server on Ubuntu 24.04 inside a Proxmox LXC container
- Complete setup: Apache + MariaDB + PHP (no Docker)
- Proper permissions, security, performance tweaks
- Ready for SSL, backups, and external storage
🧱 Step 1: Create the LXC Container in Proxmox
- In Proxmox UI, click
Create CT - Select Ubuntu 24.04 LTS as the template
- Assign resources:
- 2+ vCPU
- 2+ GB RAM
- 10+ GB disk
- Enable nesting under the «Features» tab
- Set hostname, password, static IP (or DHCP)
📝 Optional: mount extra Proxmox storage (ZFS/NFS) for user files.
⚙️ Step 2: Prepare the System (Inside Container)
apt update && apt upgrade -y
apt install sudo unzip ufw htop curl software-properties-common -y
You can add a non-root user and configure SSH if needed.
🌐 Step 3: Install Apache and Required PHP Packages
apt install apache2 -y
add-apt-repository ppa:ondrej/php -y && apt update
apt install php8.2 php8.2-{cli,common,gd,mysql,xml,mbstring,zip,curl,intl,bcmath,imagick} libapache2-mod-php8.2 -y
Enable important modules:
a2enmod rewrite headers env dir mime ssl
systemctl restart apache2
🛢️ Step 4: Install and Configure MariaDB
apt install mariadb-server -y
mysql_secure_installation
Then configure the database:
CREATE DATABASE nextcloud CHARACTER SET utf8mb4 COLLATE utf8mb4_general_ci;
CREATE USER 'ncuser'@'localhost' IDENTIFIED BY 'yourStrongPassword';
GRANT ALL PRIVILEGES ON nextcloud.* TO 'ncuser'@'localhost';
FLUSH PRIVILEGES;
☁️ Step 5: Download and Deploy Nextcloud
cd /var/www/
wget https://download.nextcloud.com/server/releases/latest.zip
unzip latest.zip && rm latest.zip
chown -R www-data:www-data nextcloud
chmod -R 755 nextcloud
🌍 Step 6: Apache Virtual Host
nano /etc/apache2/sites-available/nextcloud.conf
Paste this config:
<VirtualHost *:80>
    ServerAdmin [email protected]
    DocumentRoot /var/www/nextcloud
    ServerName cloud.yourdomain.com

    <Directory /var/www/nextcloud/>
        Options +FollowSymlinks
        AllowOverride All
        Require all granted
    </Directory>

    ErrorLog ${APACHE_LOG_DIR}/nextcloud_error.log
    CustomLog ${APACHE_LOG_DIR}/nextcloud_access.log combined
</VirtualHost>
Then:
a2ensite nextcloud.conf
systemctl reload apache2
🔒 Step 7: (Optional) Set Up HTTPS with Let’s Encrypt
If DNS is set:
apt install certbot python3-certbot-apache -y
certbot --apache -d cloud.yourdomain.com
🧠 Step 8: Finalize via Web Interface
- Visit
http://<your_ip>or domain - Create admin account
- Provide:
- Database name:
nextcloud - DB user:
ncuser - Password:
yourStrongPassword
- Database name:
- Hit Install
🚀 Optional Enhancements
- Enable PHP OPcache, APCu, and Redis
- Configure external storage (SMB/NFS)
- Integrate with Collabora or OnlyOffice
- Set up automated backups (e.g., Borg, rsync)
📦 Backup Snapshot Tip (Proxmox)
Before starting syncs/uploads, create a snapshot:
pct snapshot 101 "fresh-installed-nextcloud"
✅ Summary
By following this guide, you’ve built a private cloud using modern tools without Docker or Snap. Your system is modular, lightweight, and easy to backup. Perfect for home labs, professionals, and privacy-focused users.