— Block, Detect, and Log Like a Pro
Why MikroTik Routers Get Targeted
If your router has a public IP — it will be scanned.
Thousands of bots around the world constantly:
- Look for open Winbox, SSH, Telnet, or API ports
- Try brute-force logins
- Launch SYN floods and DoS attacks
- Abuse open DNS for reflection attacks
Even a home router gets hit dozens of times a day.
So let’s build rules that:
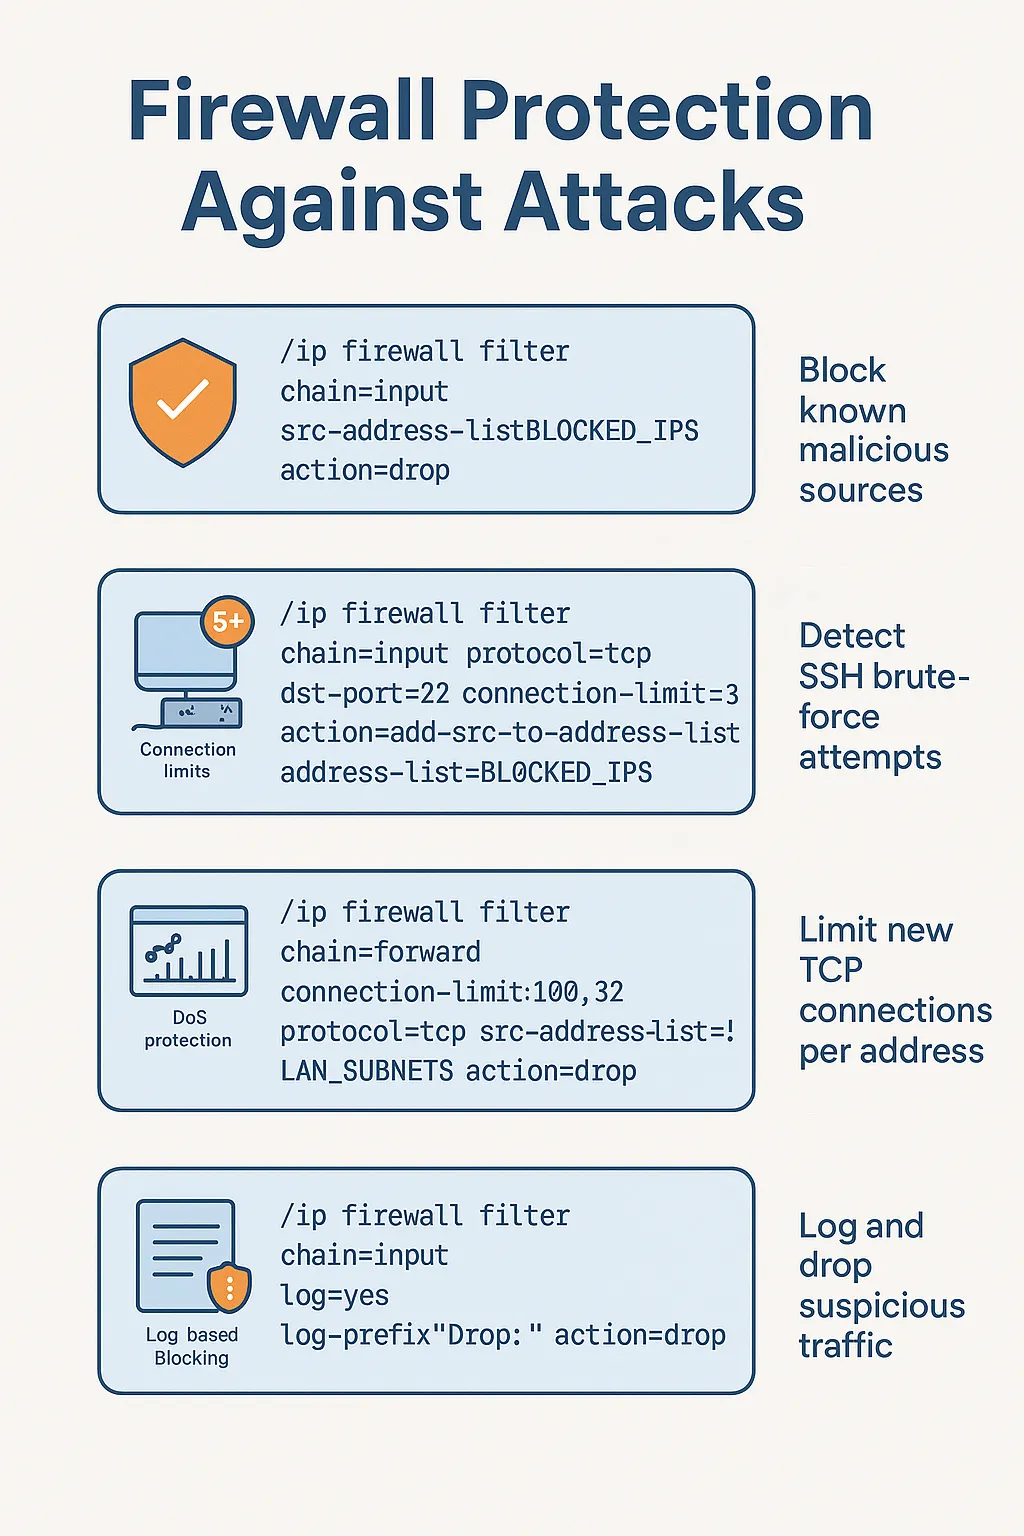
- 🔒 Drop malicious traffic
- 🚫 Rate-limit brute-force attempts
- 🕵️ Detect scanners
- 🔔 Log suspicious activity
🧱 Step 1: Detect and Drop Port Scanners
MikroTik has a neat feature to detect port scanning automatically.
Add this rule near the top of your input chain:
bashКопироватьРедактировать/ip firewall filter
add chain=input protocol=tcp psd=21,3s,3,1 action=add-src-to-address-list \
    address-list=PORT_SCANNERS address-list-timeout=1d comment="Detect TCP port scan"
Explanation:
- Detects if 21 different TCP ports are probed in 3 seconds
- Adds the source IP to
PORT_SCANNERSlist - Keeps it blocked for 1 day
Now, block those scanners:
bashКопироватьРедактировать/ip firewall filter
add chain=input src-address-list=PORT_SCANNERS action=drop comment="Drop port scanners"
🚫 Step 2: Drop Bogon and Reserved IPs on WAN
Bots often spoof invalid IPs — like private ranges or loopback — that should never appear on WAN.
Block them at the input chain (and forward, if needed):
bashКопироватьРедактировать/ip firewall filter
add chain=input src-address=0.0.0.0/8 action=drop comment="Drop bogus src IP"
add chain=input src-address=127.0.0.0/8 action=drop comment="Drop loopback"
add chain=input src-address=10.0.0.0/8 action=drop comment="Drop private src"
add chain=input src-address=169.254.0.0/16 action=drop comment="Drop link-local"
add chain=input src-address=192.168.0.0/16 action=drop comment="Drop private src"
💣 Step 3: Basic DoS Protection (SYN Flood, Ping Flood)
MikroTik supports connection limits and rate matching.
Limit TCP SYN connections per IP:
/ip firewall filter
add chain=input protocol=tcp tcp-flags=syn connection-limit=30,32 \
    action=add-src-to-address-list address-list=SYN_FLOODERS \
    address-list-timeout=1d comment="SYN flood detect"
add chain=input src-address-list=SYN_FLOODERS action=drop comment="Drop SYN flooders"
Limit ICMP (Ping) Floods:
/ip firewall filter
add chain=input protocol=icmp limit=5,10 action=accept comment="Allow limited ping"
add chain=input protocol=icmp action=drop comment="Drop excessive ping"
🔑 Step 4: Brute Force Protection — SSH, Winbox, etc.
We’ll use connection rate limits to detect brute force:
SSH Brute-Force Detection:
/ip firewall filter
add chain=input protocol=tcp dst-port=22 src-address-list=!TRUSTED_IPS \
    connection-state=new src-address-list=!SSH_WHITELIST \
    action=add-src-to-address-list address-list=SSH_BRUTE address-list-timeout=1d \
    comment="SSH brute force detector"

add chain=input src-address-list=SSH_BRUTE action=drop comment="Drop SSH brute IPs"
You can repeat this for Winbox (port 8291), Telnet, or other services.
📋 Step 5: Log Suspicious Behavior (Optional but Useful)
You can log any drop or suspicious action:
/ip firewall filter
add chain=input src-address-list=SSH_BRUTE action=drop log=yes log-prefix="SSH BRUTE: "
Just remember: log carefully. If you’re under a flood, logging every packet can overload your router.
⚠️ Tip: Use Connection Limits for Other Abuse Scenarios
If you suspect spamming, malware, or excessive usage — you can add connection limits per IP or per subnet.
Example:
/ip firewall filter
add chain=forward protocol=tcp dst-port=25 src-address-list=LAN_SUBNETS \
    connection-limit=10,32 action=drop comment="Limit SMTP spam"
📁 Example: Full Protection Ruleset Snippet
# Port scan detection
add chain=input protocol=tcp psd=21,3s,3,1 action=add-src-to-address-list \
    address-list=PORT_SCANNERS address-list-timeout=1d comment="Port scan detect"
add chain=input src-address-list=PORT_SCANNERS action=drop

# Brute force protection
add chain=input protocol=tcp dst-port=22 connection-state=new \
    src-address-list=!TRUSTED_IPS action=add-src-to-address-list \
    address-list=SSH_BRUTE address-list-timeout=1d comment="SSH brute detect"
add chain=input src-address-list=SSH_BRUTE action=drop

# SYN flood
add chain=input protocol=tcp tcp-flags=syn connection-limit=30,32 \
    action=add-src-to-address-list address-list=SYN_FLOODERS address-list-timeout=1d
add chain=input src-address-list=SYN_FLOODERS action=drop

# ICMP rate limit
add chain=input protocol=icmp limit=5,10 action=accept
add chain=input protocol=icmp action=drop

# Bogon drop
add chain=input src-address=0.0.0.0/8 action=drop
add chain=input src-address=10.0.0.0/8 action=drop
add chain=input src-address=127.0.0.0/8 action=drop
✅ Summary
✔ You’ve implemented rules against port scanners, brute force, SYN floods, and ping floods
✔ You block reserved and spoofed IPs
✔ You rate-limit ICMP and connection abuse
✔ You log and block offenders dynamically
✔ You’re now very hard to scan or attack