Automating your infrastructure is a cornerstone of modern DevOps, and Proxmox is a fantastic virtualization platform. When you combine it with Terraform, you unlock the power of Infrastructure as Code (IaC), allowing you to define and manage your virtual machines programmatically.
This guide is for beginners who want a clean, isolated, and repeatable way to run Terraform by setting it up inside a Docker container.
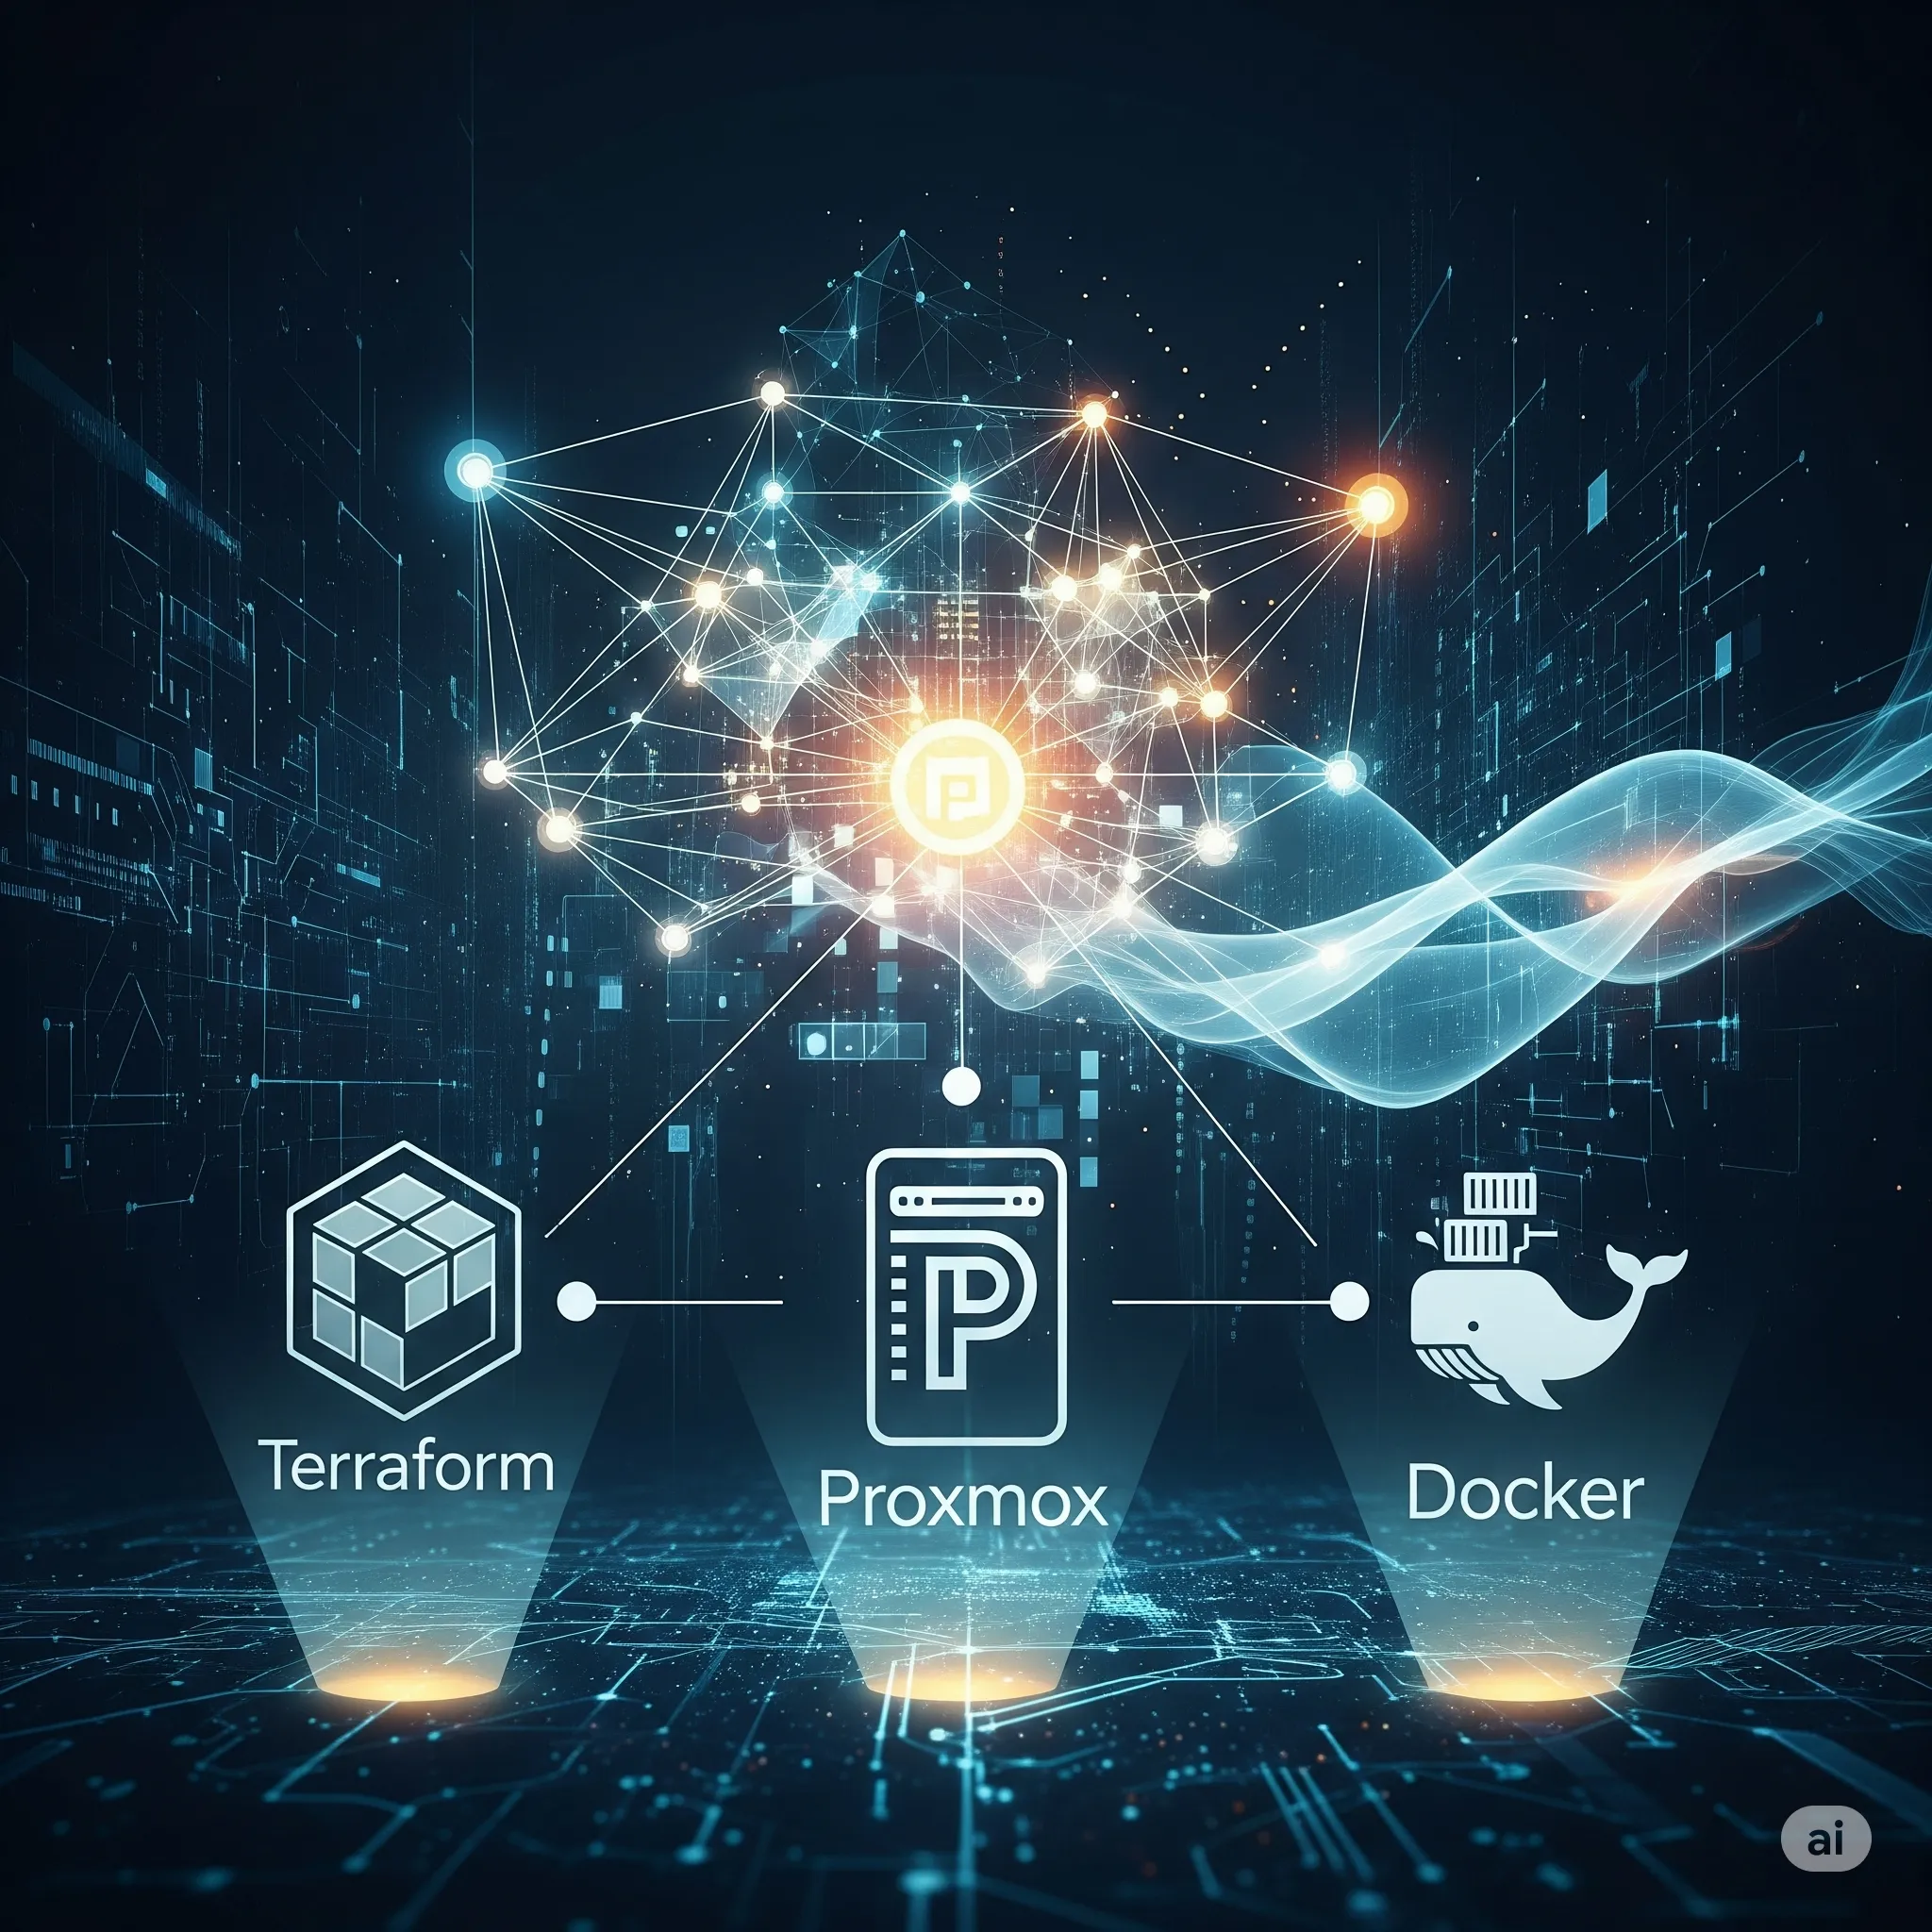
🎨 Image 1: Architectural Overview
First, let’s visualize our goal. Our setup will look like this: you run Docker on your machine, which hosts a Terraform container. This container then communicates with your Proxmox server’s API to build, modify, or destroy virtual machines.
- Explanation: This diagram shows a clean workflow. Your workstation instructs a self-contained Docker environment, which in turn manages your Proxmox infrastructure. This prevents clutter on your local machine and ensures a consistent environment.
Part 1: Prerequisites
Before we begin, make sure you have:
- A running Proxmox VE server.
- The IP address of your Proxmox server.
- Docker installed and running on your local workstation.
- A Proxmox API Token. To create one, go to your Proxmox web UI and navigate to
Datacenter->Permissions->API Tokens. ClickAdd, give it a memorable ID (e.g.,terraform-user@pve), and save the Token ID and Secret securely.
Part 2: Setting Up the Terraform Docker Environment
We’ll create a dedicated directory for our project and a Dockerfile to define our environment.
First, create a project folder: mkdir proxmox-terraform && cd proxmox-terraform
Now, create a file named Dockerfile inside this directory.
🎨 Image 2: The Dockerfile
This Dockerfile is simple. It uses the official Terraform image and adds git, which is required by the Terraform Proxmox provider to download modules.
- Explanation: This file instructs Docker to use the latest official Terraform image and add the
gitpackage. TheWORKDIRcommand sets the default directory inside the container, keeping our project files organized.
Build your Docker image with this command: docker build -t terraform-proxmox .
Part 3: Configuring Terraform
Next, create a file named main.tf. This is where you’ll define the Proxmox provider and the virtual machines you want to create.
Terraform
terraform {
  required_providers {
    proxmox = {
      source  = "telmate/proxmox"
      version = "2.9.14"
    }
  }
}

provider "proxmox" {
  pm_api_url = "https://YOUR_PROXMOX_IP:8006/api2/json"
  pm_api_token_id = "YOUR_API_TOKEN_ID"
  pm_api_token_secret = "YOUR_API_TOKEN_SECRET"

  # Set to true if your Proxmox has a self-signed certificate
  pm_tls_insecure = true
}

# --- Define your VM resource here ---
resource "proxmox_vm_qemu" "example_vm" {
  name        = "terraform-vm-01"
  target_node = "pve" # The name of your Proxmox node

  # A pre-prepared template or existing VM to clone
  clone = "ubuntu-2204-cloud-template"

  agent       = 1
  os_type     = "cloud-init"
  cores       = 1
  sockets     = 1
  cpu         = "host"
  memory      = 1024
  scsihw      = "virtio-scsi-pci"
  bootdisk    = "scsi0"

  disk {
    size        = "20G"
    type        = "scsi"
    storage     = "local-lvm" # Your target storage
  }

  network {
    model       = "virtio"
    bridge      = "vmbr0"
    firewall    = false
  }
}
Important:
- Replace
YOUR_PROXMOX_IP,YOUR_API_TOKEN_ID, andYOUR_API_TOKEN_SECRETwith your actual credentials. - Make sure the
clonevalue points to an existing VM template in your Proxmox server. - Check that
target_nodeandstoragematch your Proxmox setup.
Part 4: Running Terraform from Docker
Now for the fun part. We will run the standard Terraform commands, but we’ll execute them through our Docker container.
- Initialize Terraform: This downloads the Proxmox provider.
docker run -it --rm -v $(pwd):/terraform terraform-proxmox init - Create an Execution Plan: Terraform will check your configuration and show you what it’s going to do.
docker run -it --rm -v $(pwd):/terraform terraform-proxmox plan
🎨 Image 3: The Terraform Plan
The output of the plan command is your safety check. It tells you exactly what resources will be created, changed, or destroyed. For our example, it will plan to create one new resource.
- Explanation: This graphic symbolizes the clear and predictable output of the
plancommand. The+icon indicates that a new virtual machine will be added to your infrastructure, giving you full confidence before you apply any changes.
- Apply the Plan: If you’re happy with the plan, apply it to create the VM.
docker run -it --rm -v $(pwd):/terraform terraform-proxmox apply --auto-approve
That’s it! After a few moments, you should see your new virtual machine, terraform-vm-01, appear in your Proxmox web interface. You have successfully automated VM deployment using Terraform from a clean Docker environment.